
How To Poke Holes Through Your Heat Transfer Graphic Deck
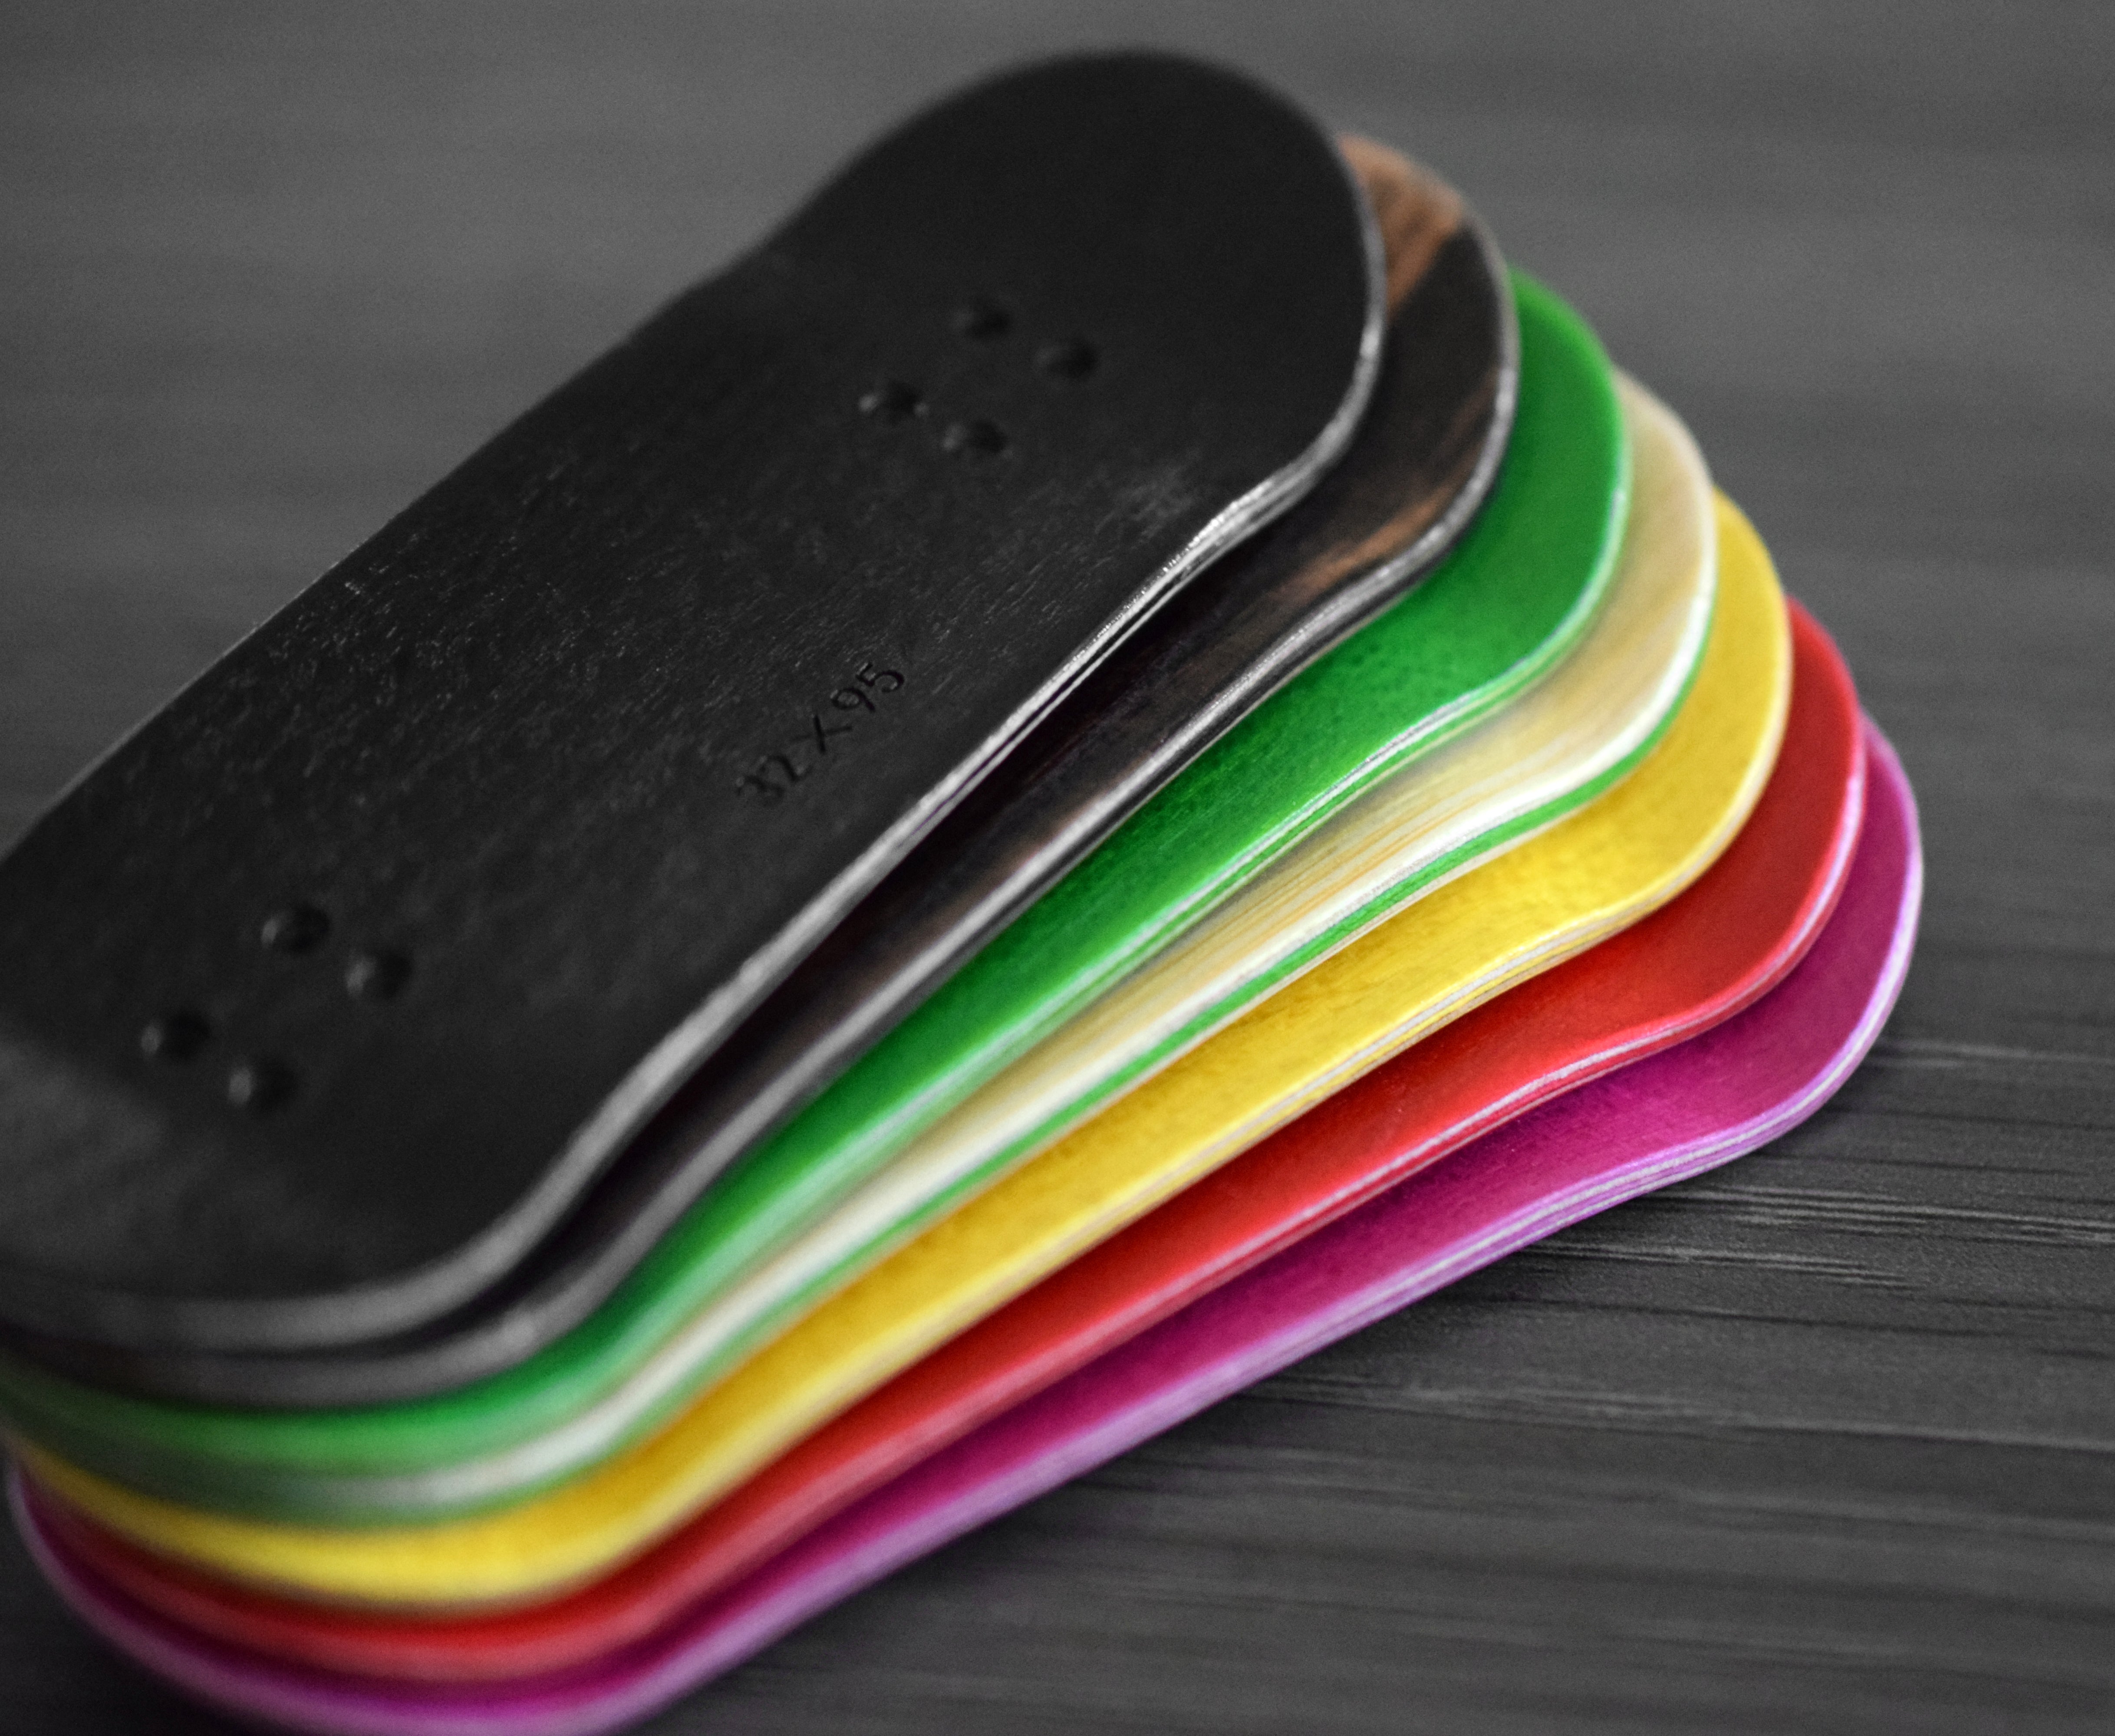
So you just received your new heat transfer graphic in the mail, you’ve taken it out of the package, and you don’t see any holes when looking at it from the bottom… what do you do?
Poking the holes through the heat transfer graphic is quick and easy.
How to poke holes through the graphic:
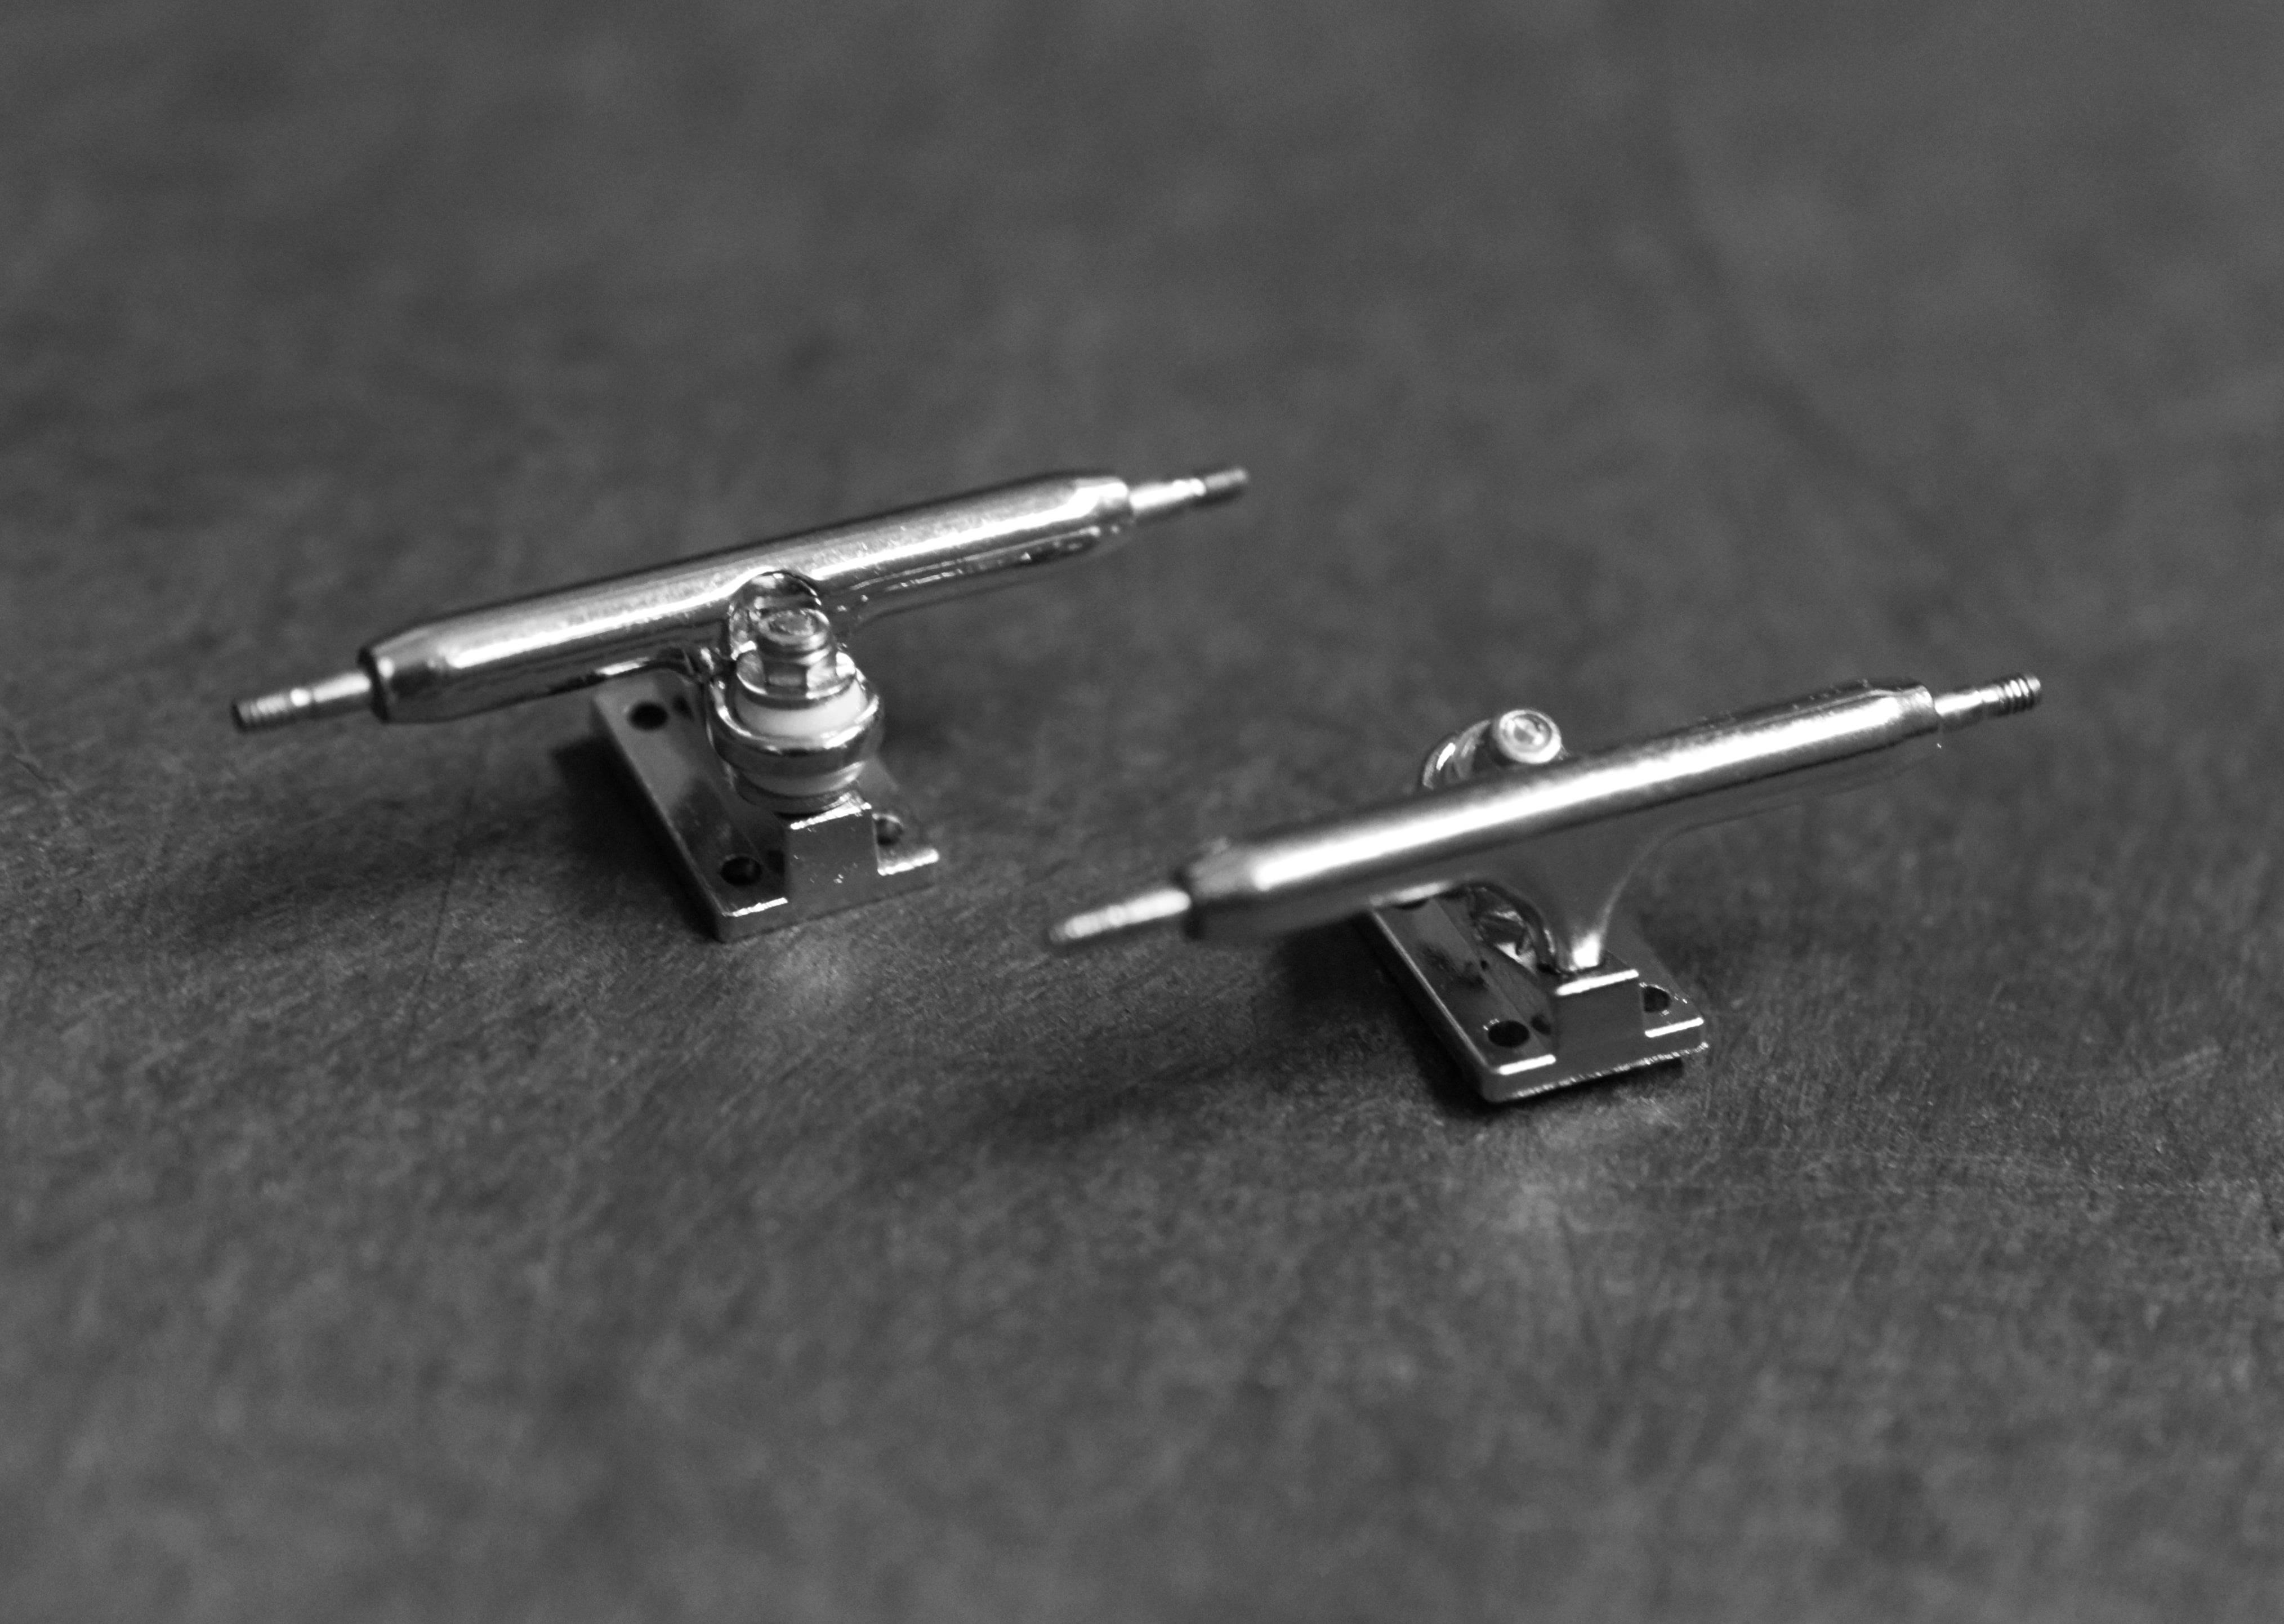
Step 1: Find something slim: the axle of your fingerboard truck, the end of a fingerboard tool, or the tip of a pen/pencil will work perfectly.
Step 2: Lightly press through each hole from the top of the deck. It does not take a lot of pressure to poke through the heat transfer graphic.
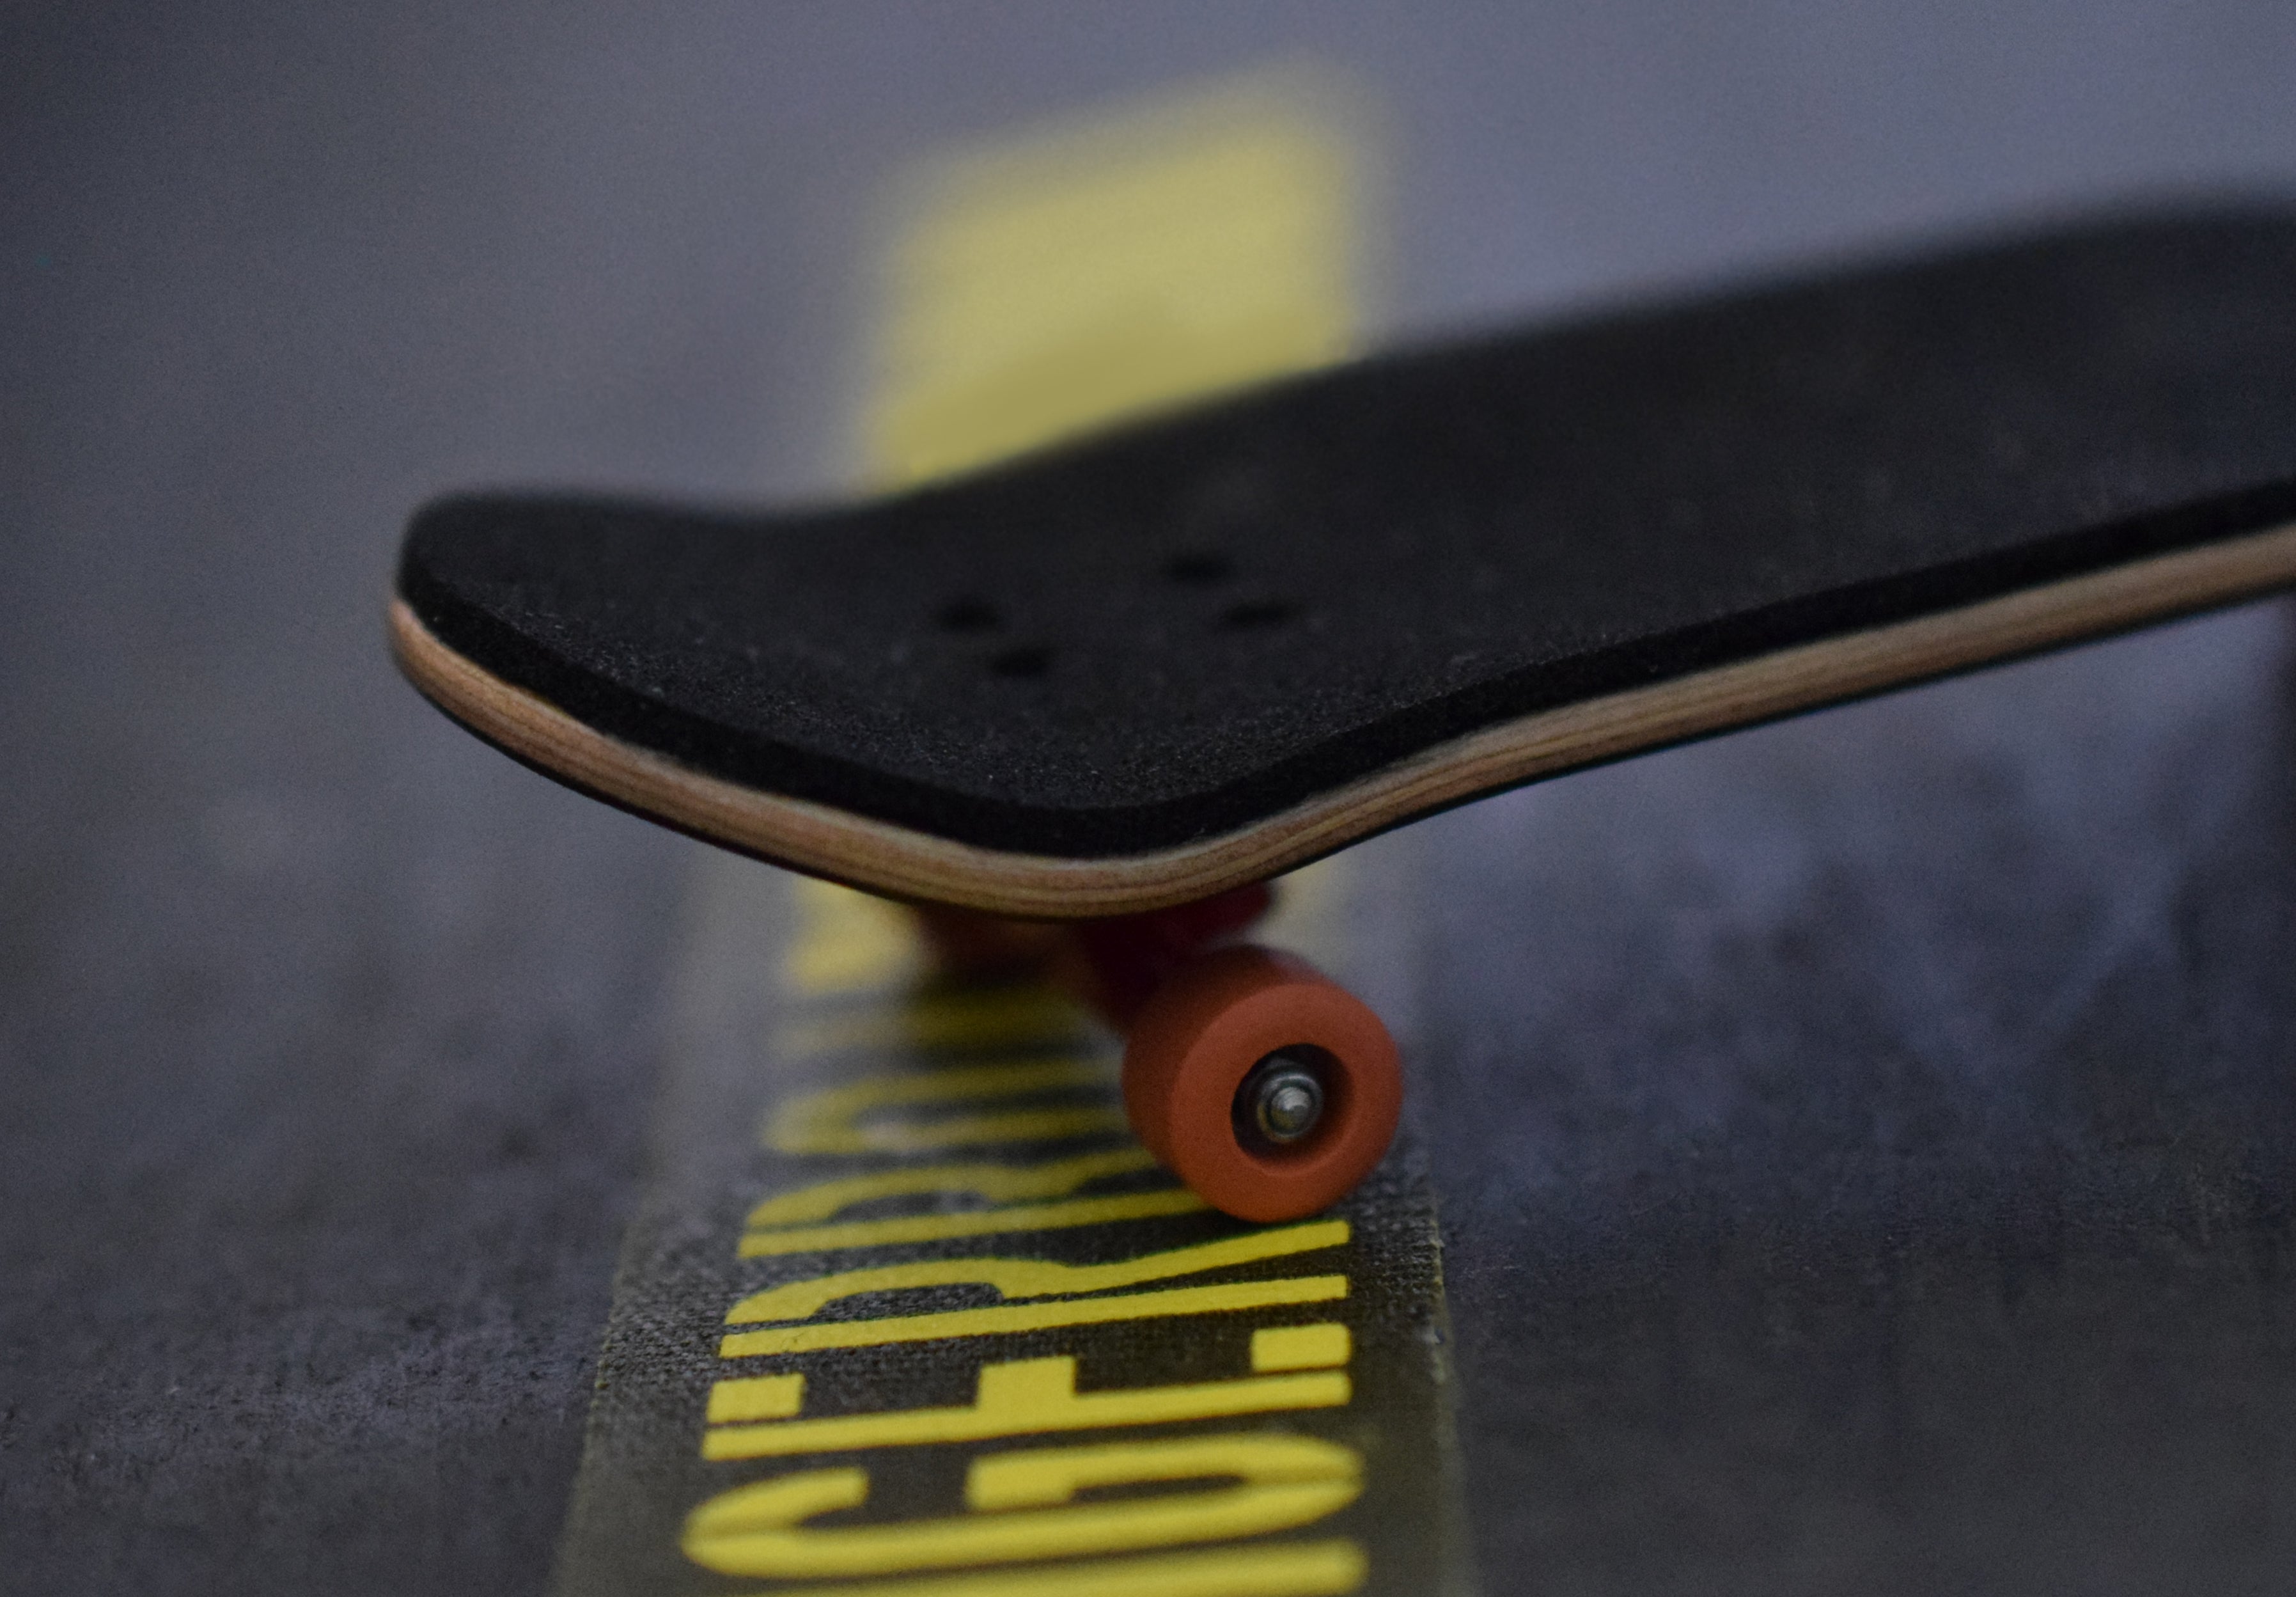
Step 3: You’re all set to put the trucks on your fingerboard deck!
Tip: Poke the holes through before applying the foam tape.

Still curious about heat transfer graphics? Here are a few frequently asked questions:
What is a “heat transfer” graphic?
In skateboarding, graphics are applied to the board by a method called heat transfer. As the board slides and grinds across surfaces, the graphic wears down to show the bottom ply of the deck. The same graphic method is also used in many fingerboard graphics.
Will my heat transfer graphic wear down over time?
Yes, it will wear down over time as you slide on rails and ramps just like a regular skateboard deck. Heat transfers are often called “real wear” graphics because they wear down over time like a real skateboard.
Leave a comment