

How to Install O-Ring Fingerboard Tuning
When Teak Tuning opened back in 2014, the O-Ring Tuning Kits were the first products that Teak launched! Since they work well and are incredibly durable, the O-Ring Tuning Kits are still available today.
Here’s everything you need to know about installing a set of o-rings on your trucks:
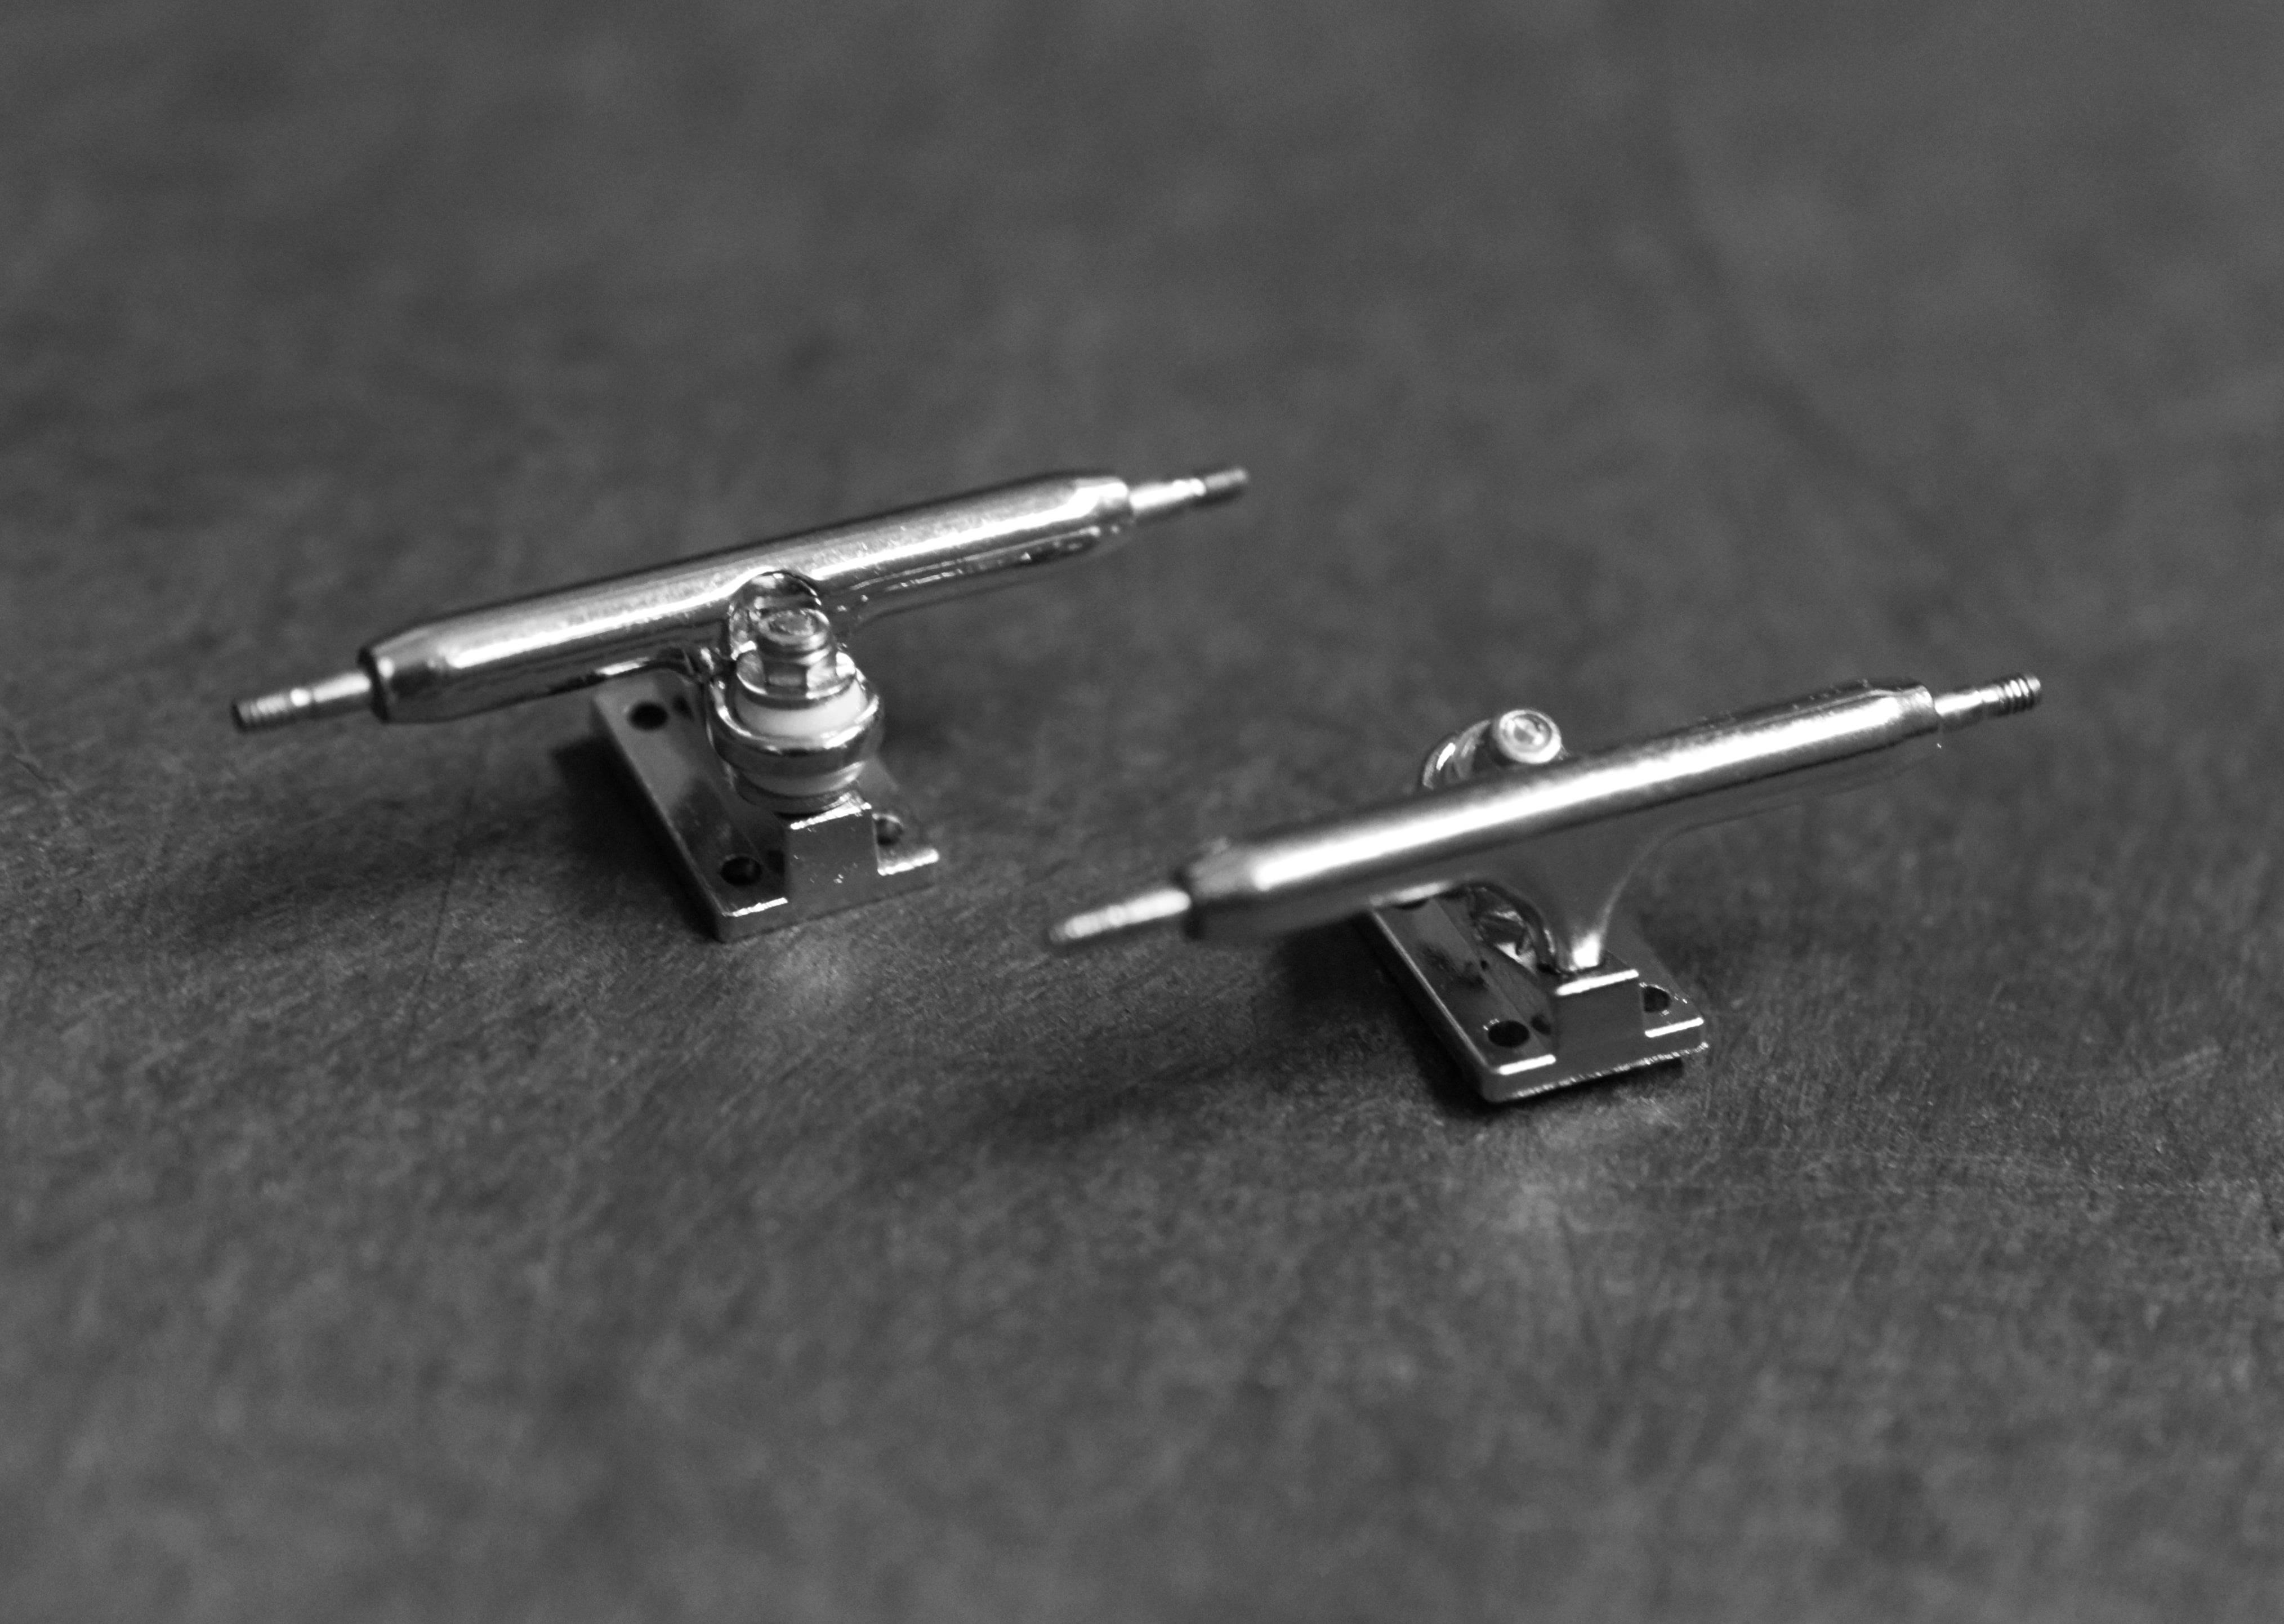
Step 1: Remove the current tuning
Use a tool to remove the locknut, then remove the hanger and current tuning.
Tip: Be careful when removing the lock nut. Since it’s so tiny, it is incredibly hard to find if it is dropped on the floor or carpet.
Step 2: Install the bottom washer and o-ring
First place a washer on the axle, then place an o-ring on top of it.
Step 3 (optional): Put on the pivot cup
Some O-Ring Kit comes with a set of pivot cup tubes. Cut down the tube to the size you’d like and place it on the end of the hanger. This is the part of the hanger that will go into the baseplate.
Step 4: Place the Hanger
Once the bottom washer/o-ring is placed on the kingpin, place the hanger back on the kingpin.
Step 5: Install the top o-ring and washer
Place the bottom o-ring on the kingpin, then place the washer on top.
Step 6: Install the locknut
Use your tool to screw the lock nut back onto the axle.
Step 7: Complete your set
Repeat steps 1-6 for the other truck.
Tip: Do NOT overtighten the lock nut. When a lock nut is over tightened, any tuning you use will not last as long.

Leave a comment