
How To Assemble Your New Fingerboard
All the gear but no idea? Follow these simple steps and be ready to ride in no time!
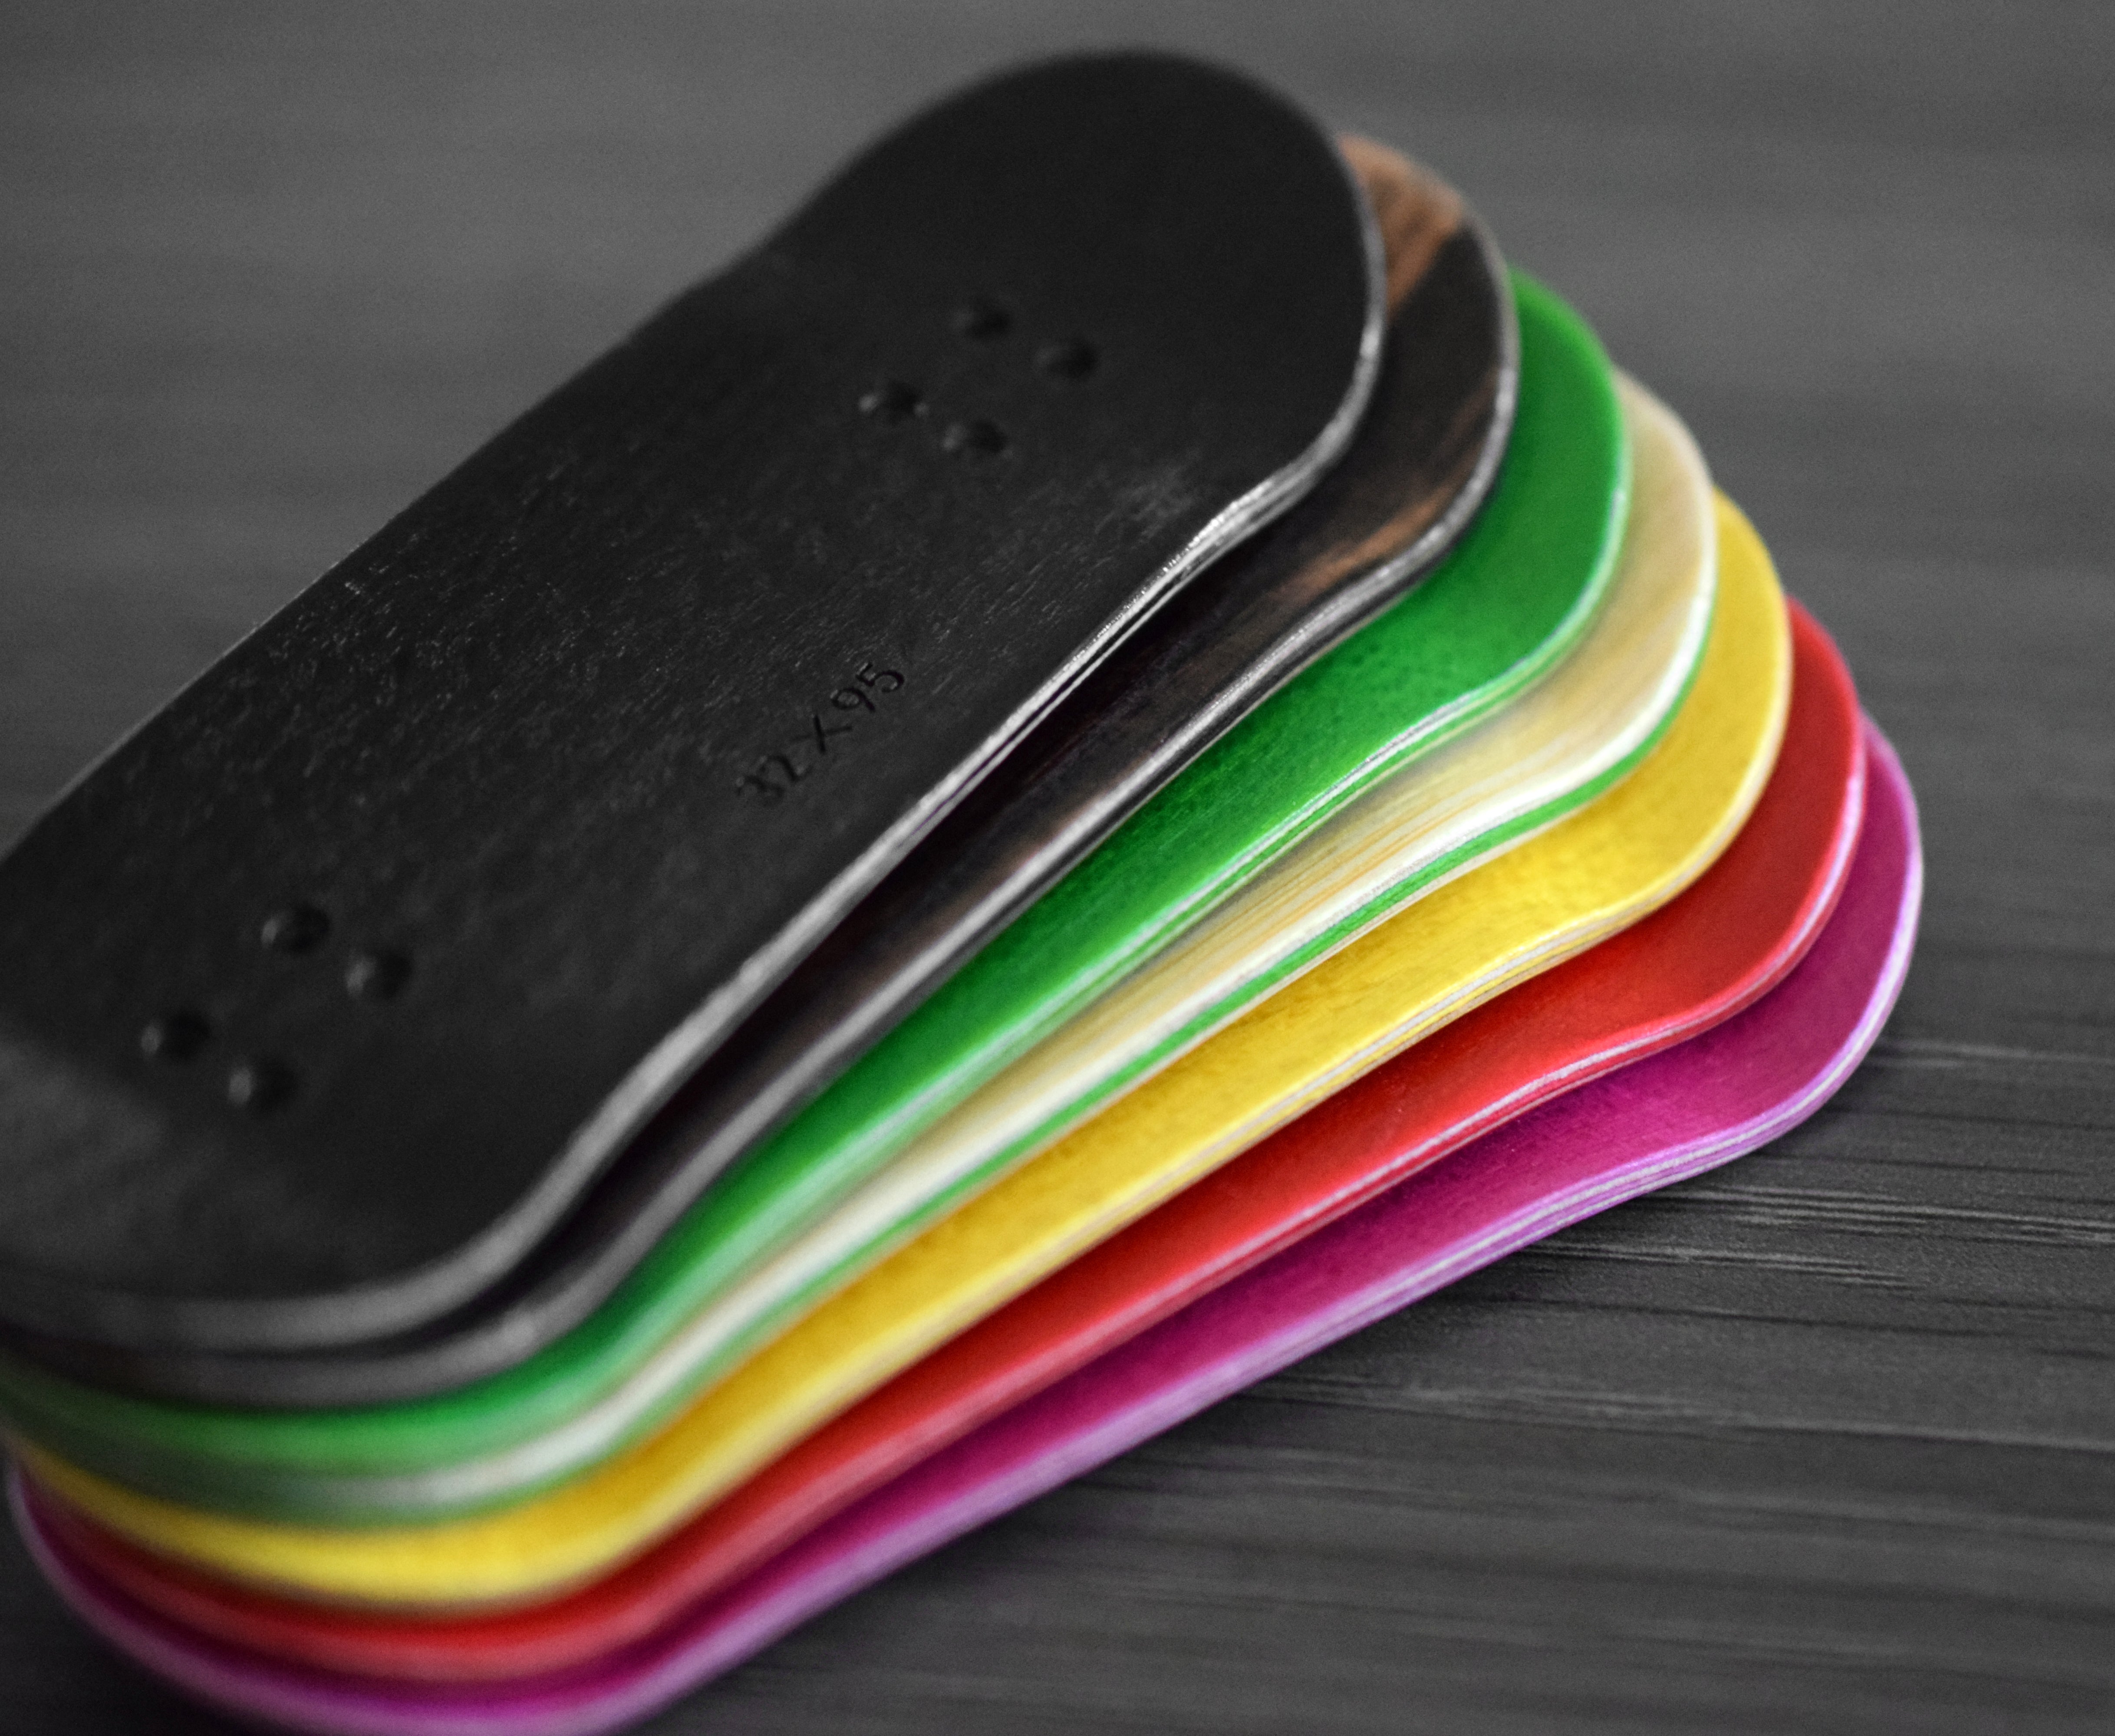
Teak Tuning completes come with everything you need to assemble a brand new fingerboard. But remember you can always make your setup fancier with ramps, rails, upgraded locknuts...
Step 1: Apply the Tape
Peel the backing off the sheet of tape and place it on top of the board. Make sure it covers the entire top of the board and is evenly applied with no air bubbles. Use a file to file down the tape along the edges of the deck to shape the tape and file away the excess material.
All Teak decks include a free sheet of tape, but you can also use Grip Tape or Gecko Grip on your setup depending on your personal preference (sold separately).
Step 2: Poke Holes Through the Tape
Use a fingerboard truck, pin, or other thin object to poke all 8 holes through the tape.
 Step 3: Apply A Teak Graphic Wrap
If you have a Teak Deck Wrap, peel off the backing and stick it on the bottom of your deck. Press it down firmly to get rid of any air bubbles. Use a file to shape the graphic to match the shape of the board and file away the excess material. Poke all 8 holes through the graphic.

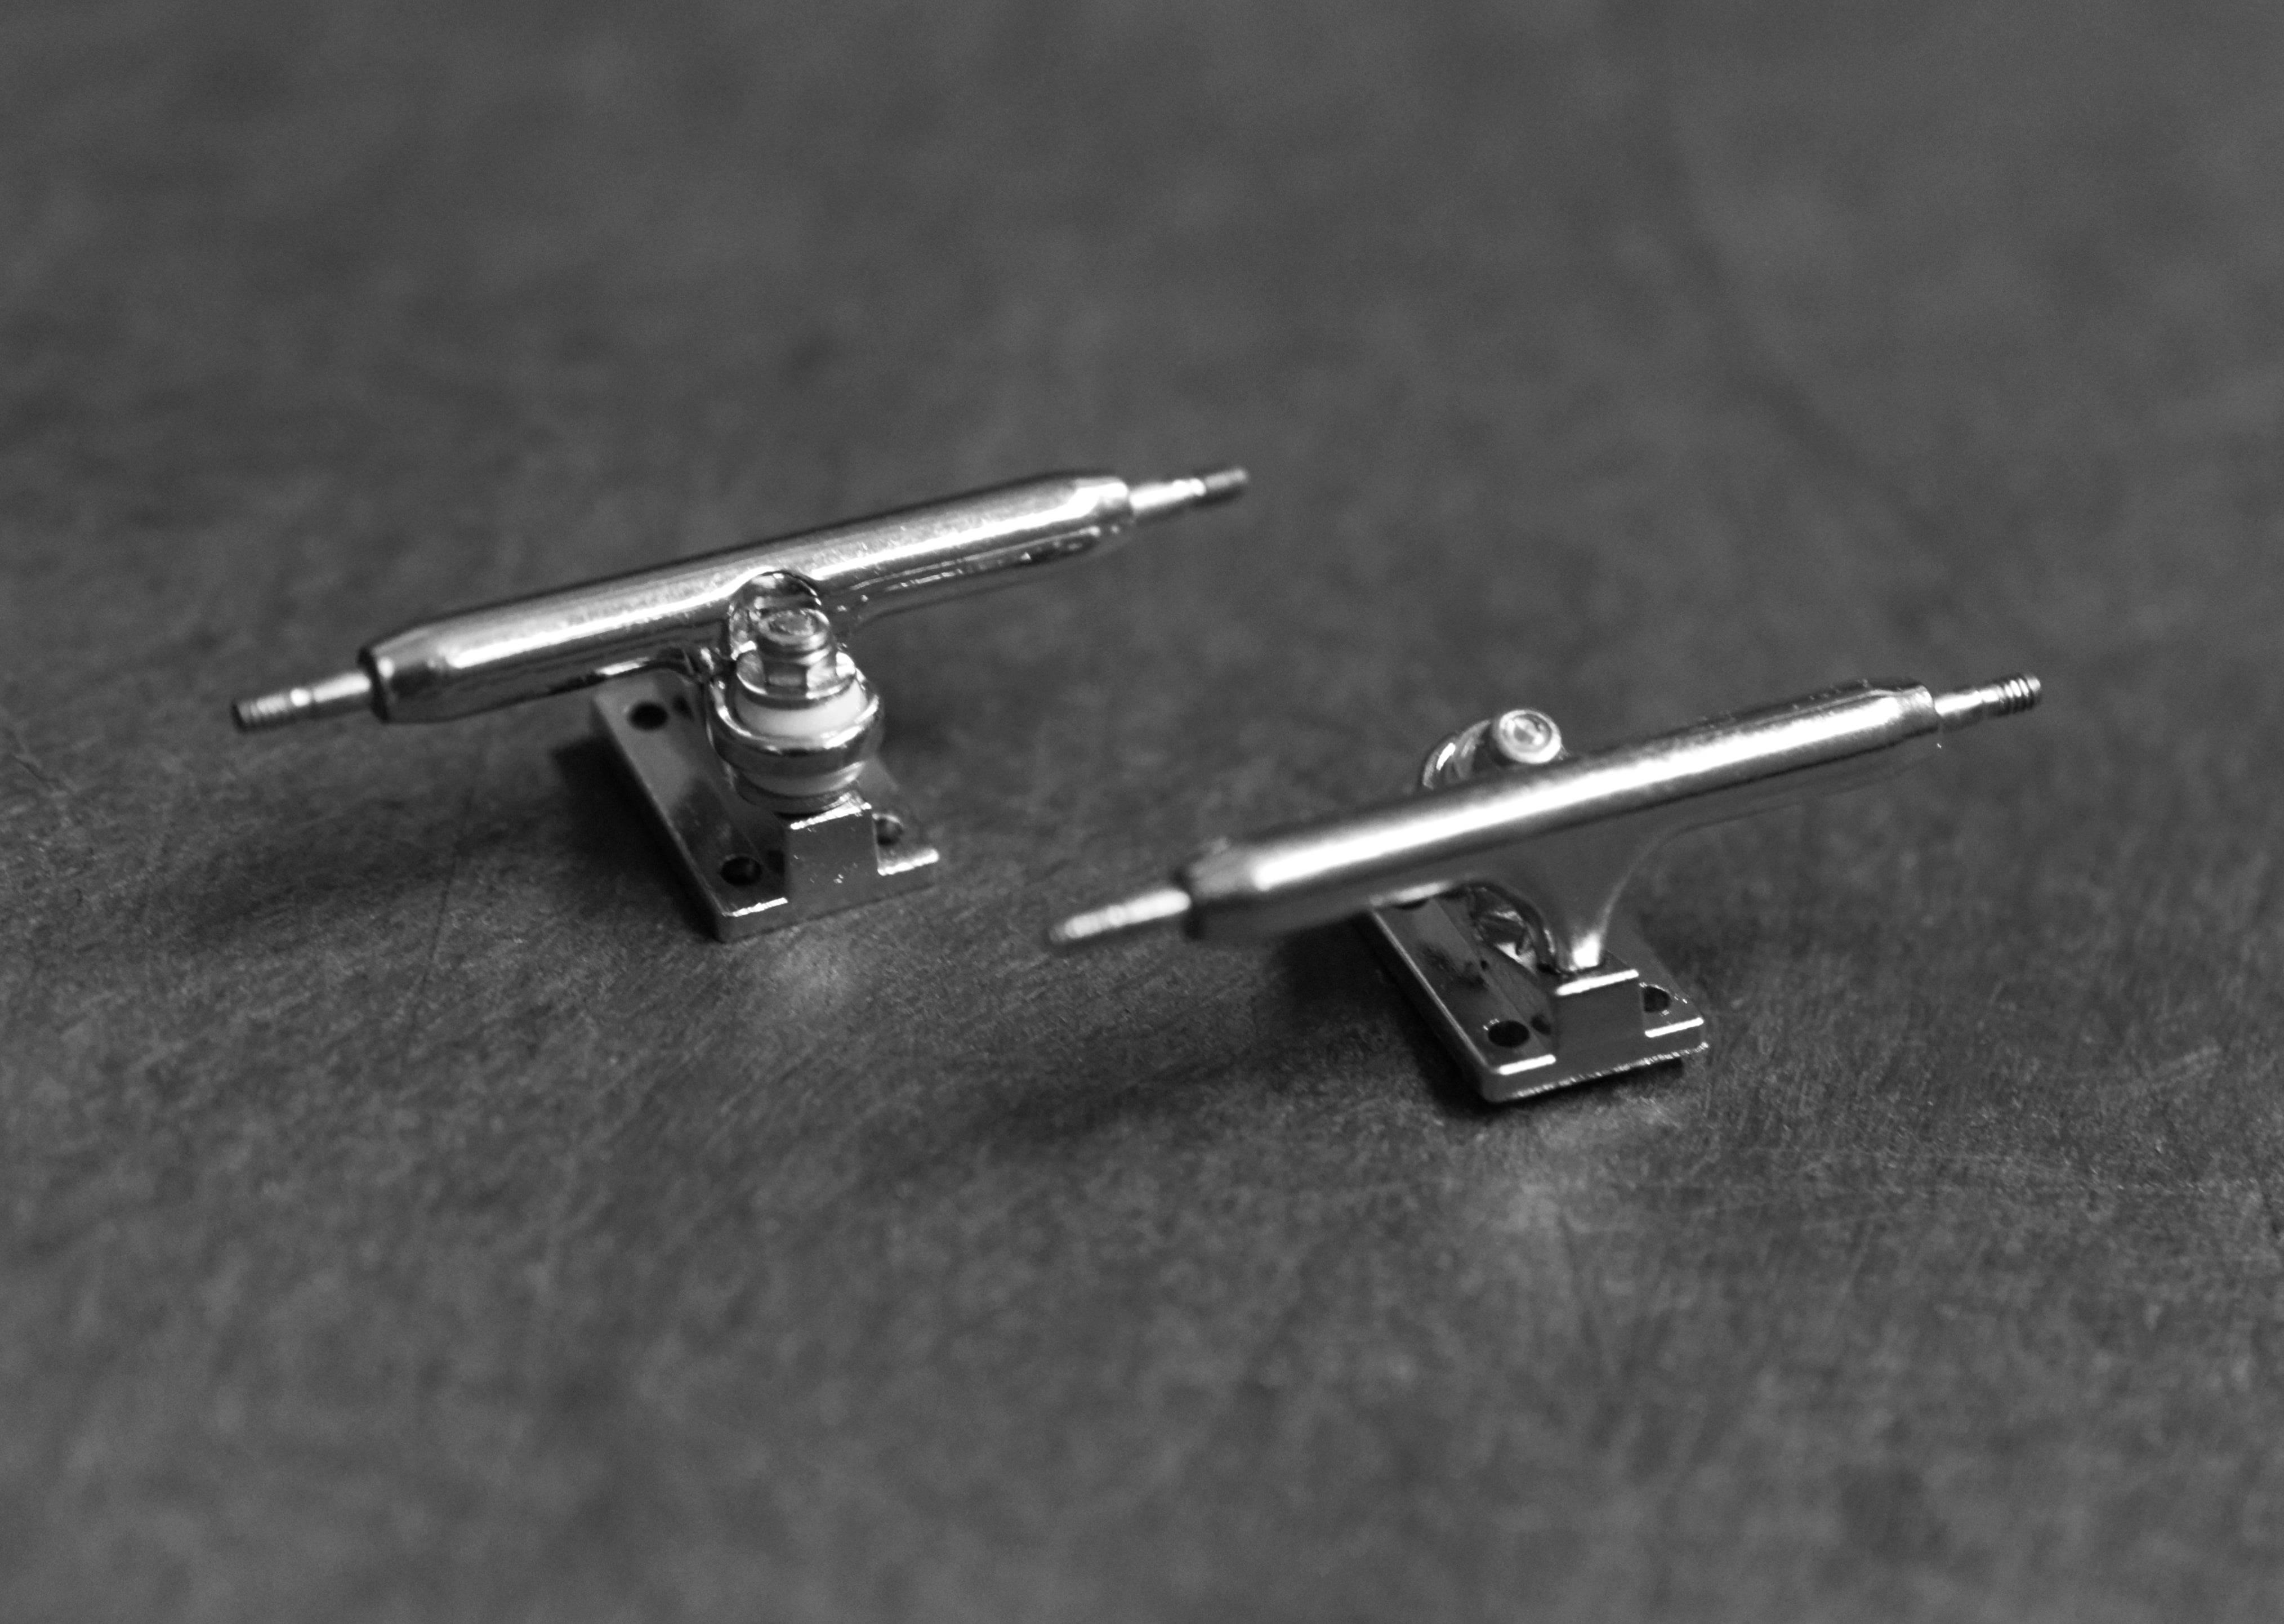
Step 4: Screw the Trucks into the Deck
Use a tool to screw the trucks into the bottom of the deck. The part of the truck with the bushing and nut should face inwards and towards the other truck. If you are using riser pads on your setup, then place the riser pad between the deck and truck and use the long silver screws that are included with the riser pad kit.
Drop a screw while doing this? All hardware is magnetic, so grab a magnet and slowly hover it over the area that you think you dropped it.

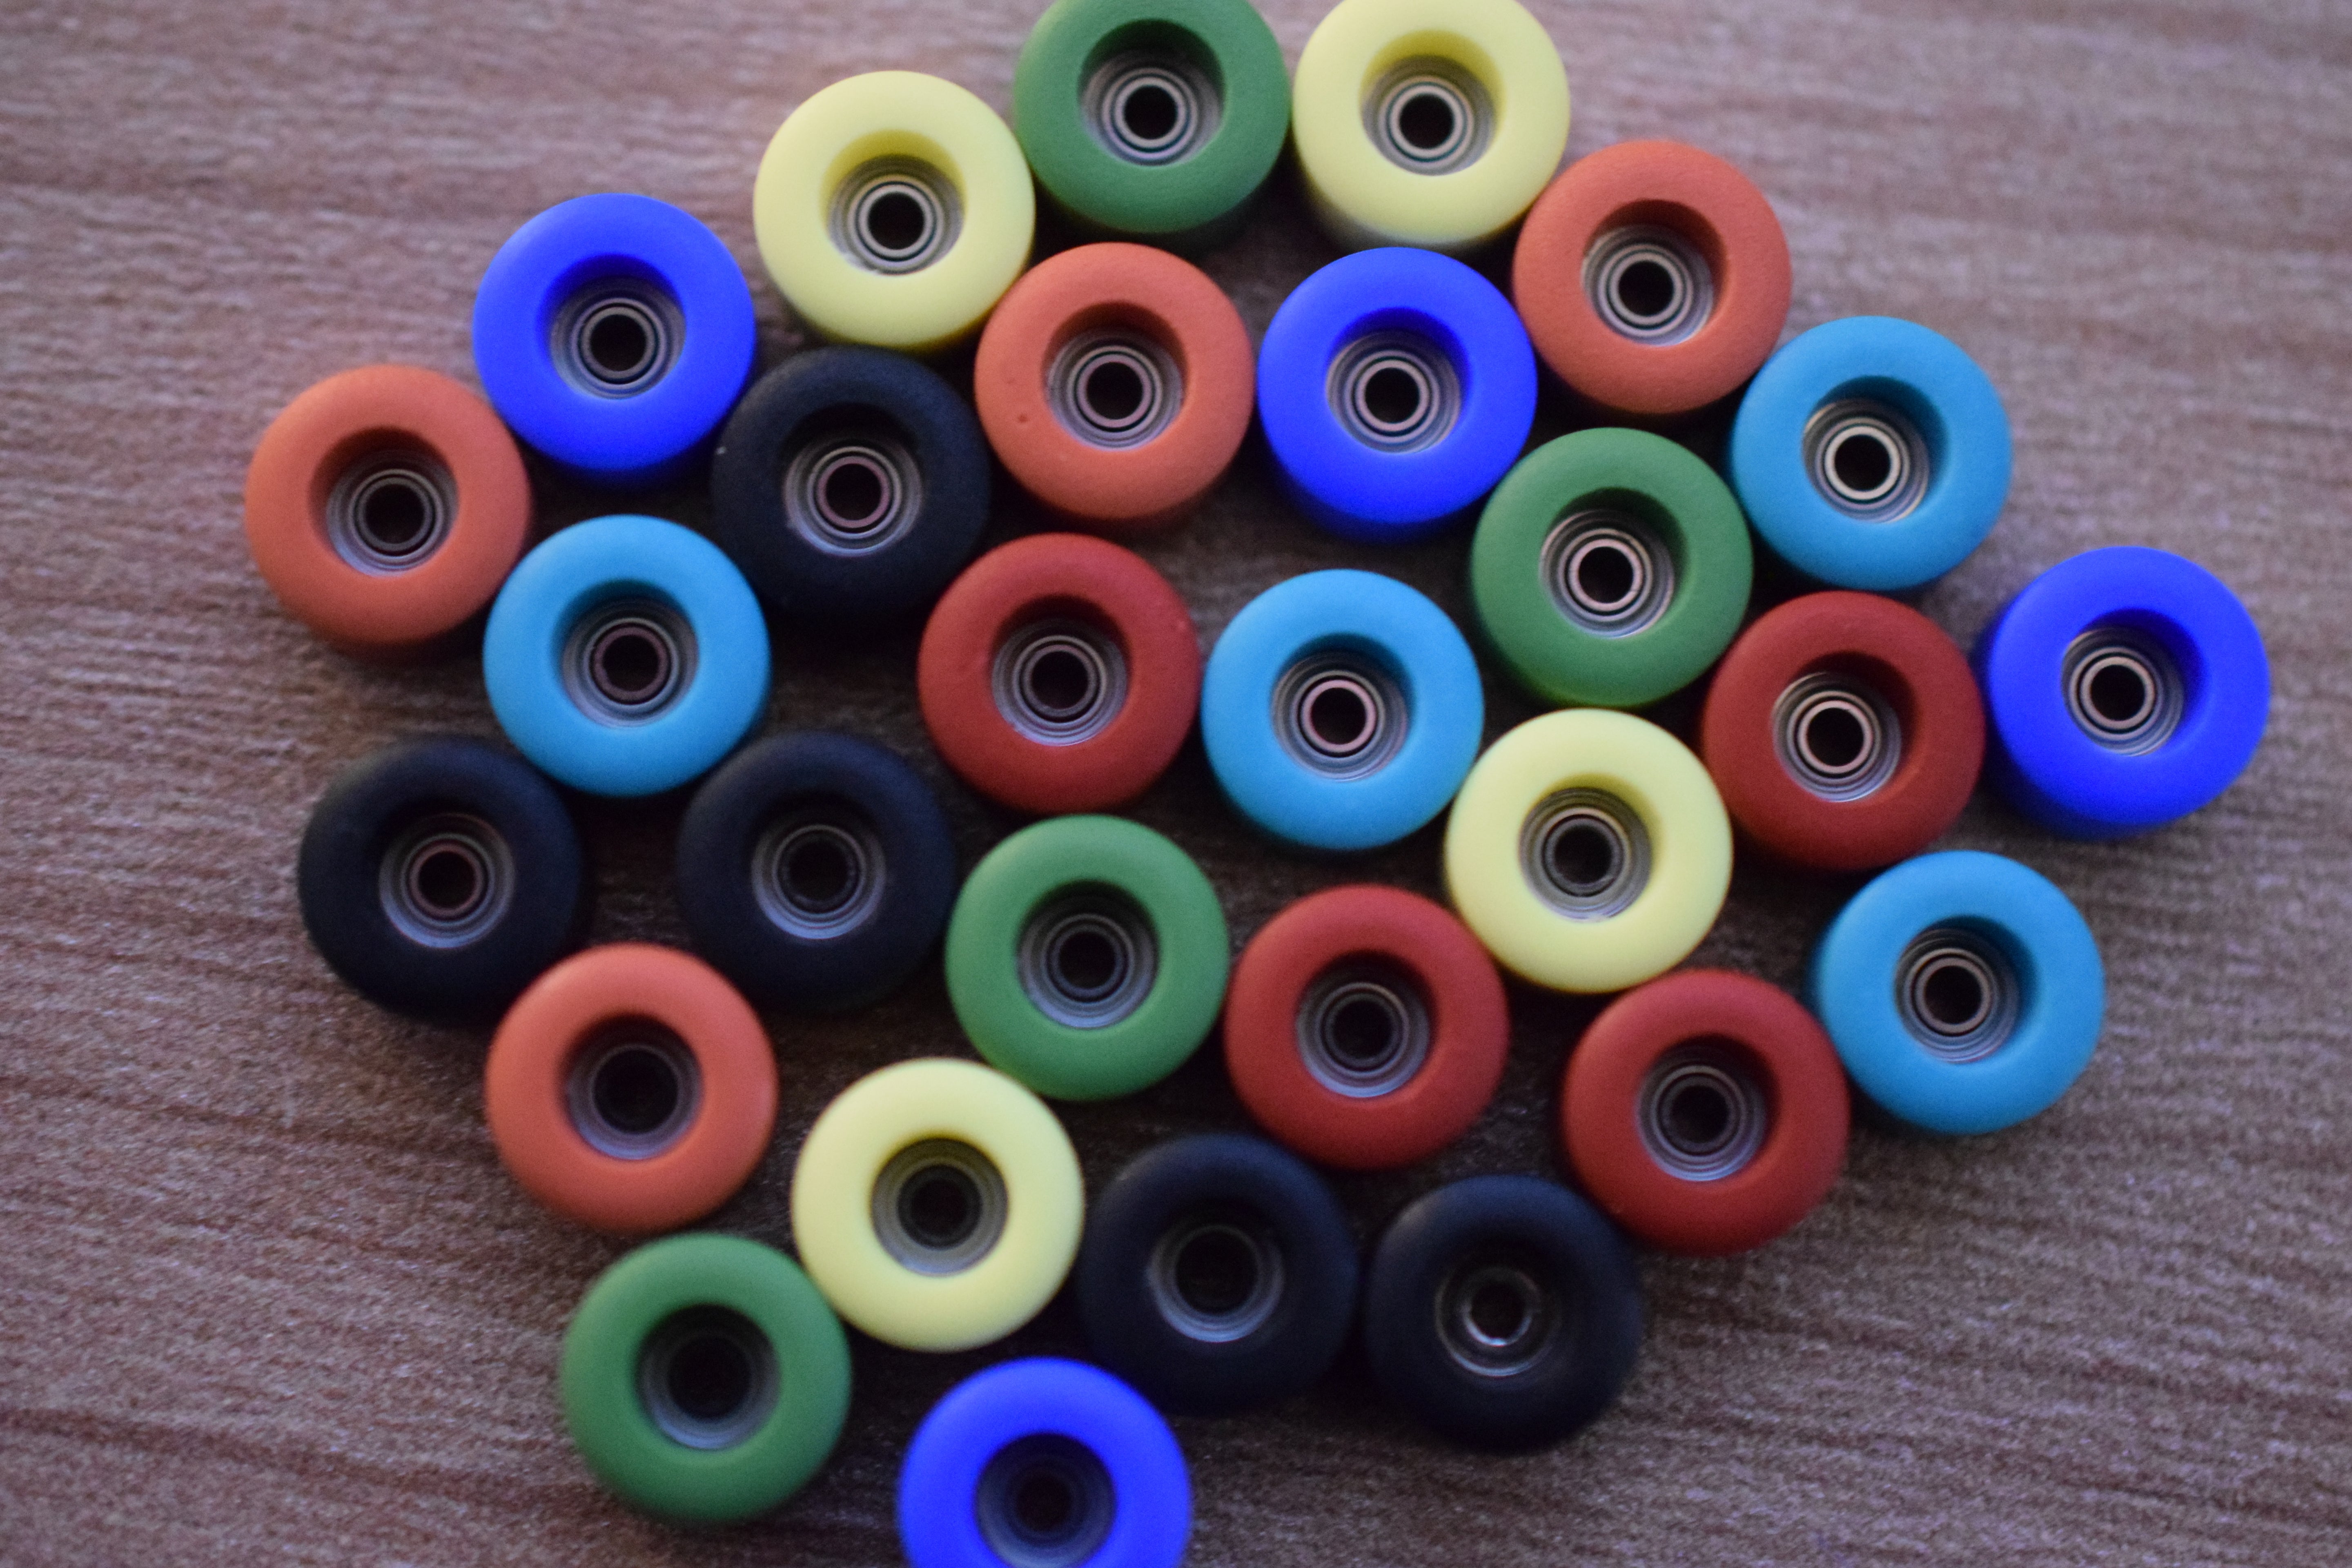
Place a wheel on each wheel axle and use a nut to screw it in with the tool. The bearing of the wheel should be closest to the truck. If you are using Spacer Trucks, then first place a spacer tube on the axle before placing the wheel and nut on the axle.
Step 6 (optional): Add Additional Gear and Swag!
Add board rails to protect your graphic, swap out your o-ring style bushings with bubble bushings, or add stickers to your deck!
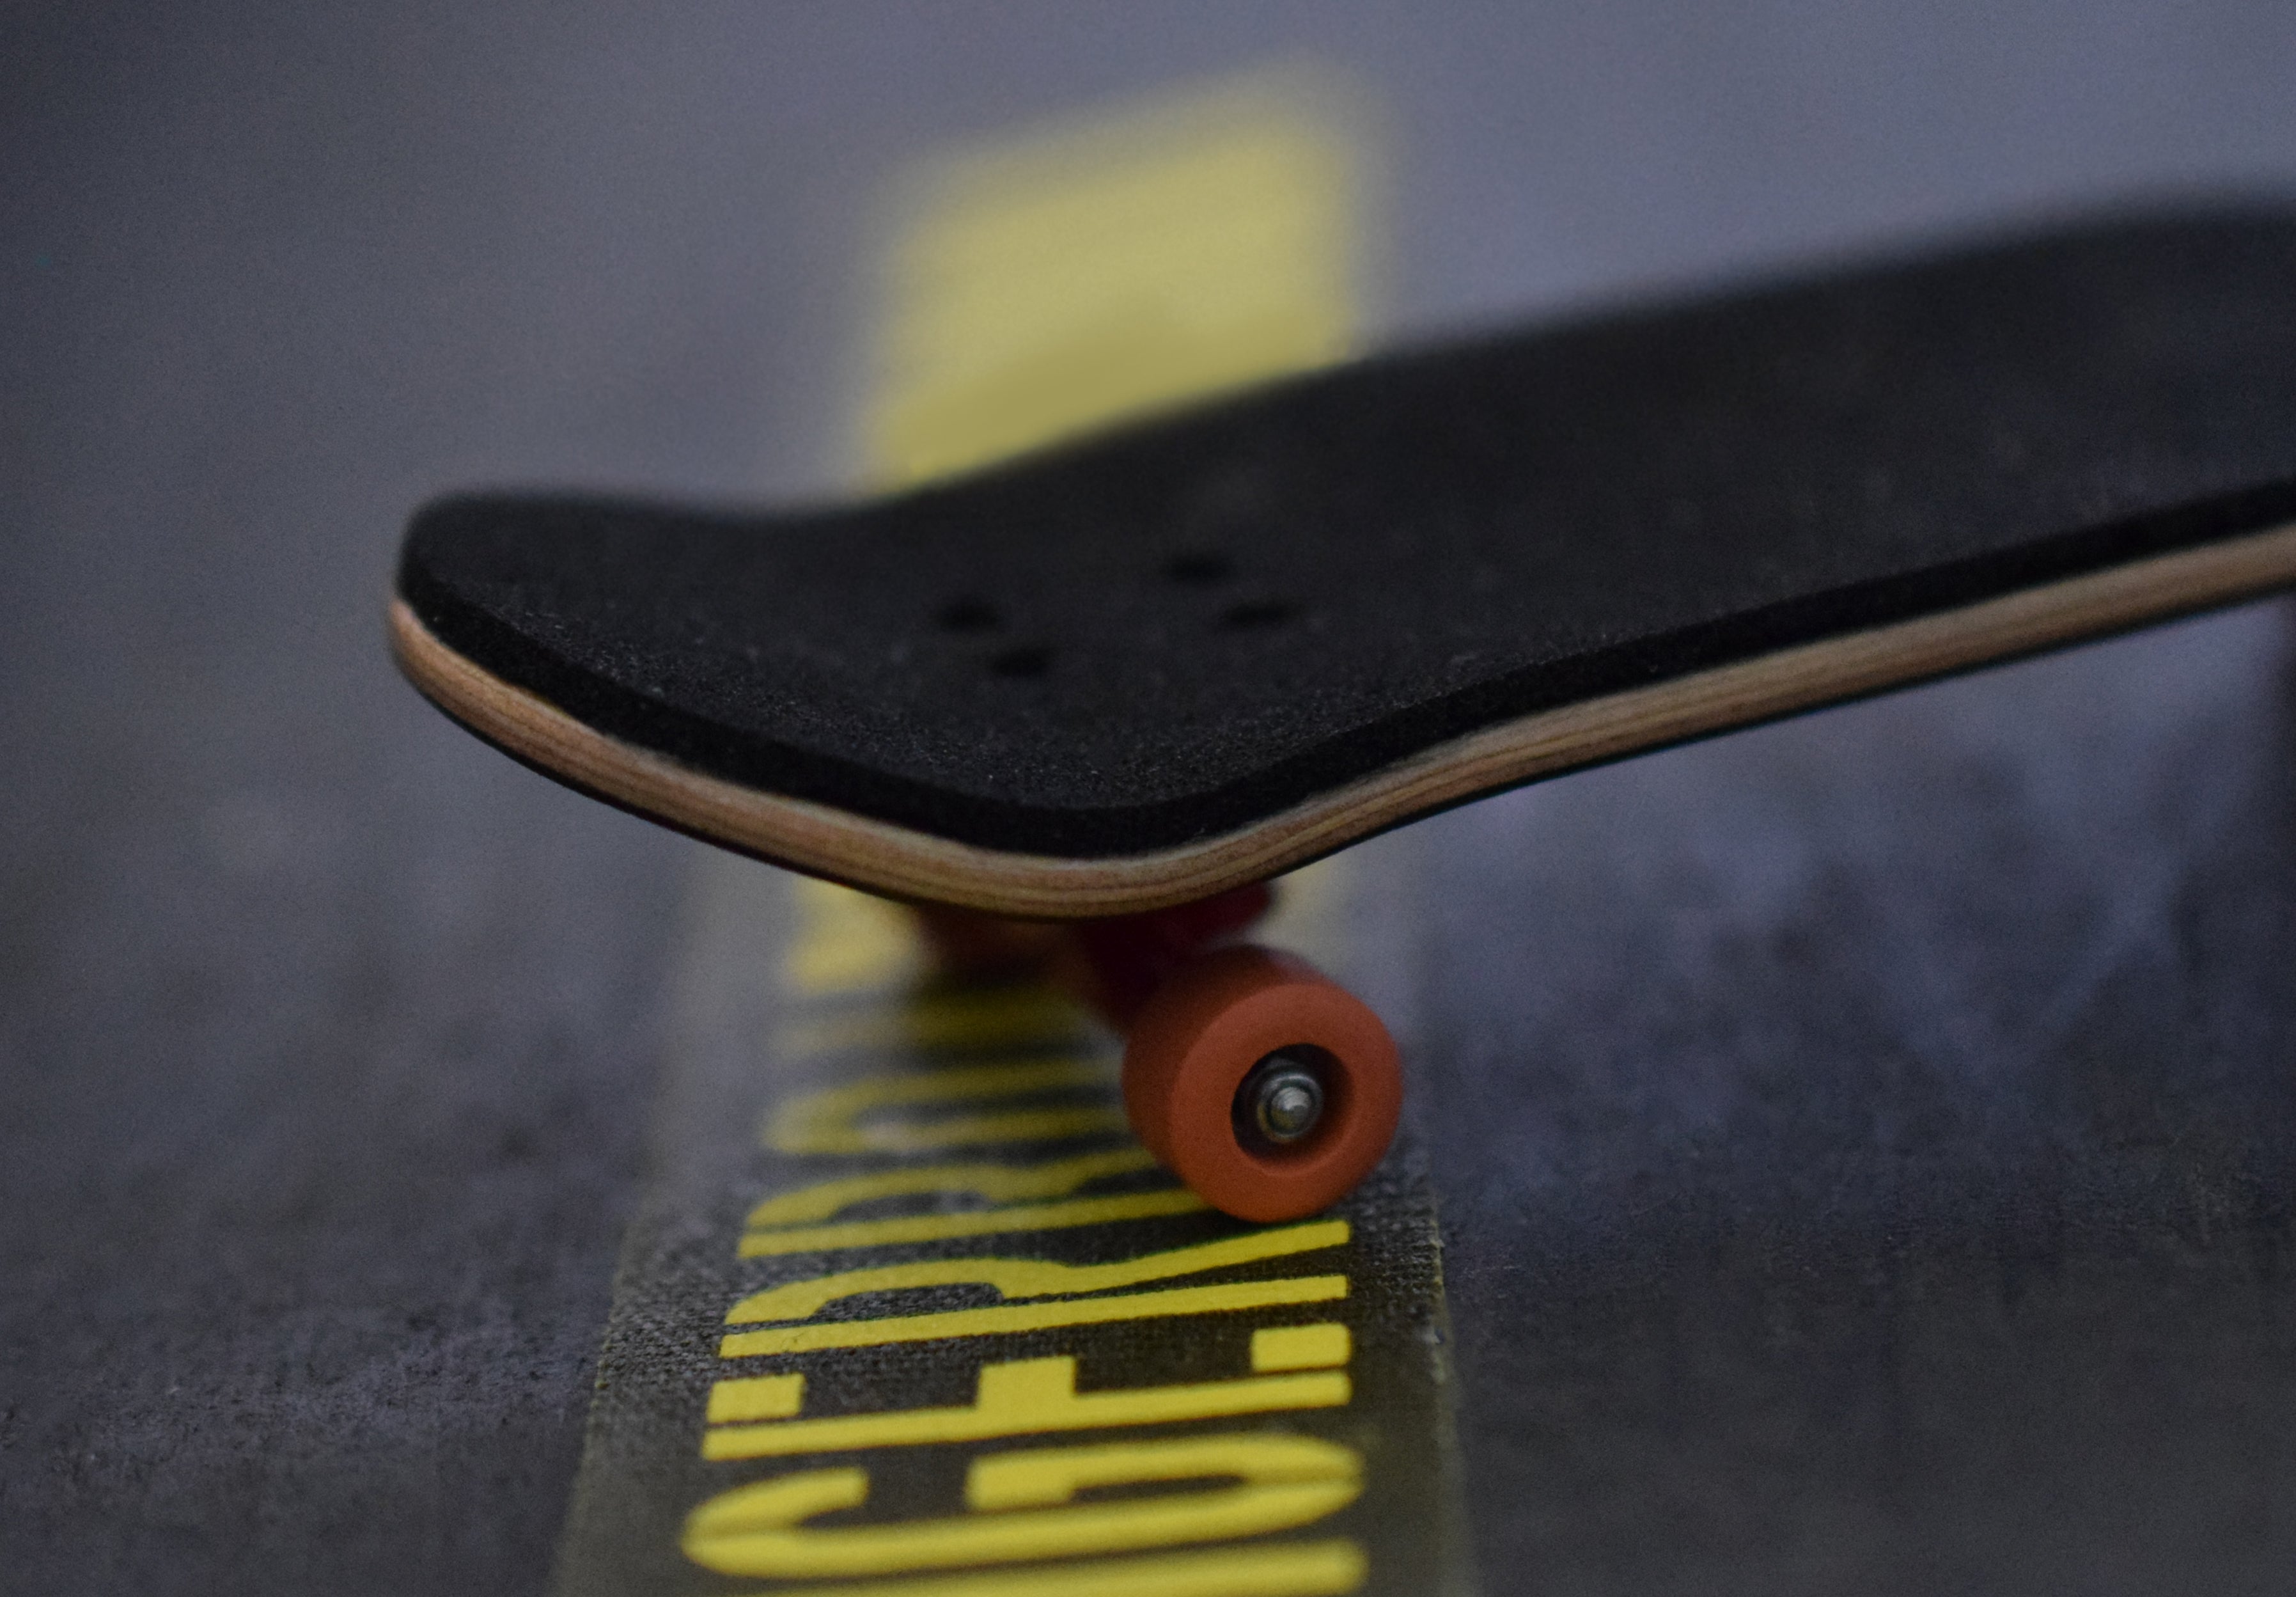
Step 7: ENJOY!
Have fun riding. And tag us in any cool photos or videos you take, we're @teaktuning on most social media!
While you're here... Don't miss our AWESOME limited edition Teak Tuning beanie.
Unsure which fingerboard kit to purchase next? Check out our blog post on all things fingerboard completes.
32mm or 34mm? Find the answer on our blog post.

Thanks the video is really helpful
What are spacer trucks and where do you put pivot cups?
Leave a comment