
New Metal Alloy Board Rails & How To Install Them
Board rails are placed down the side of your deck to protect the graphic on your fingerboard or to add some color and character to your fingerboard. While they do have a function, many riders also choose to use them simply because they cool great!
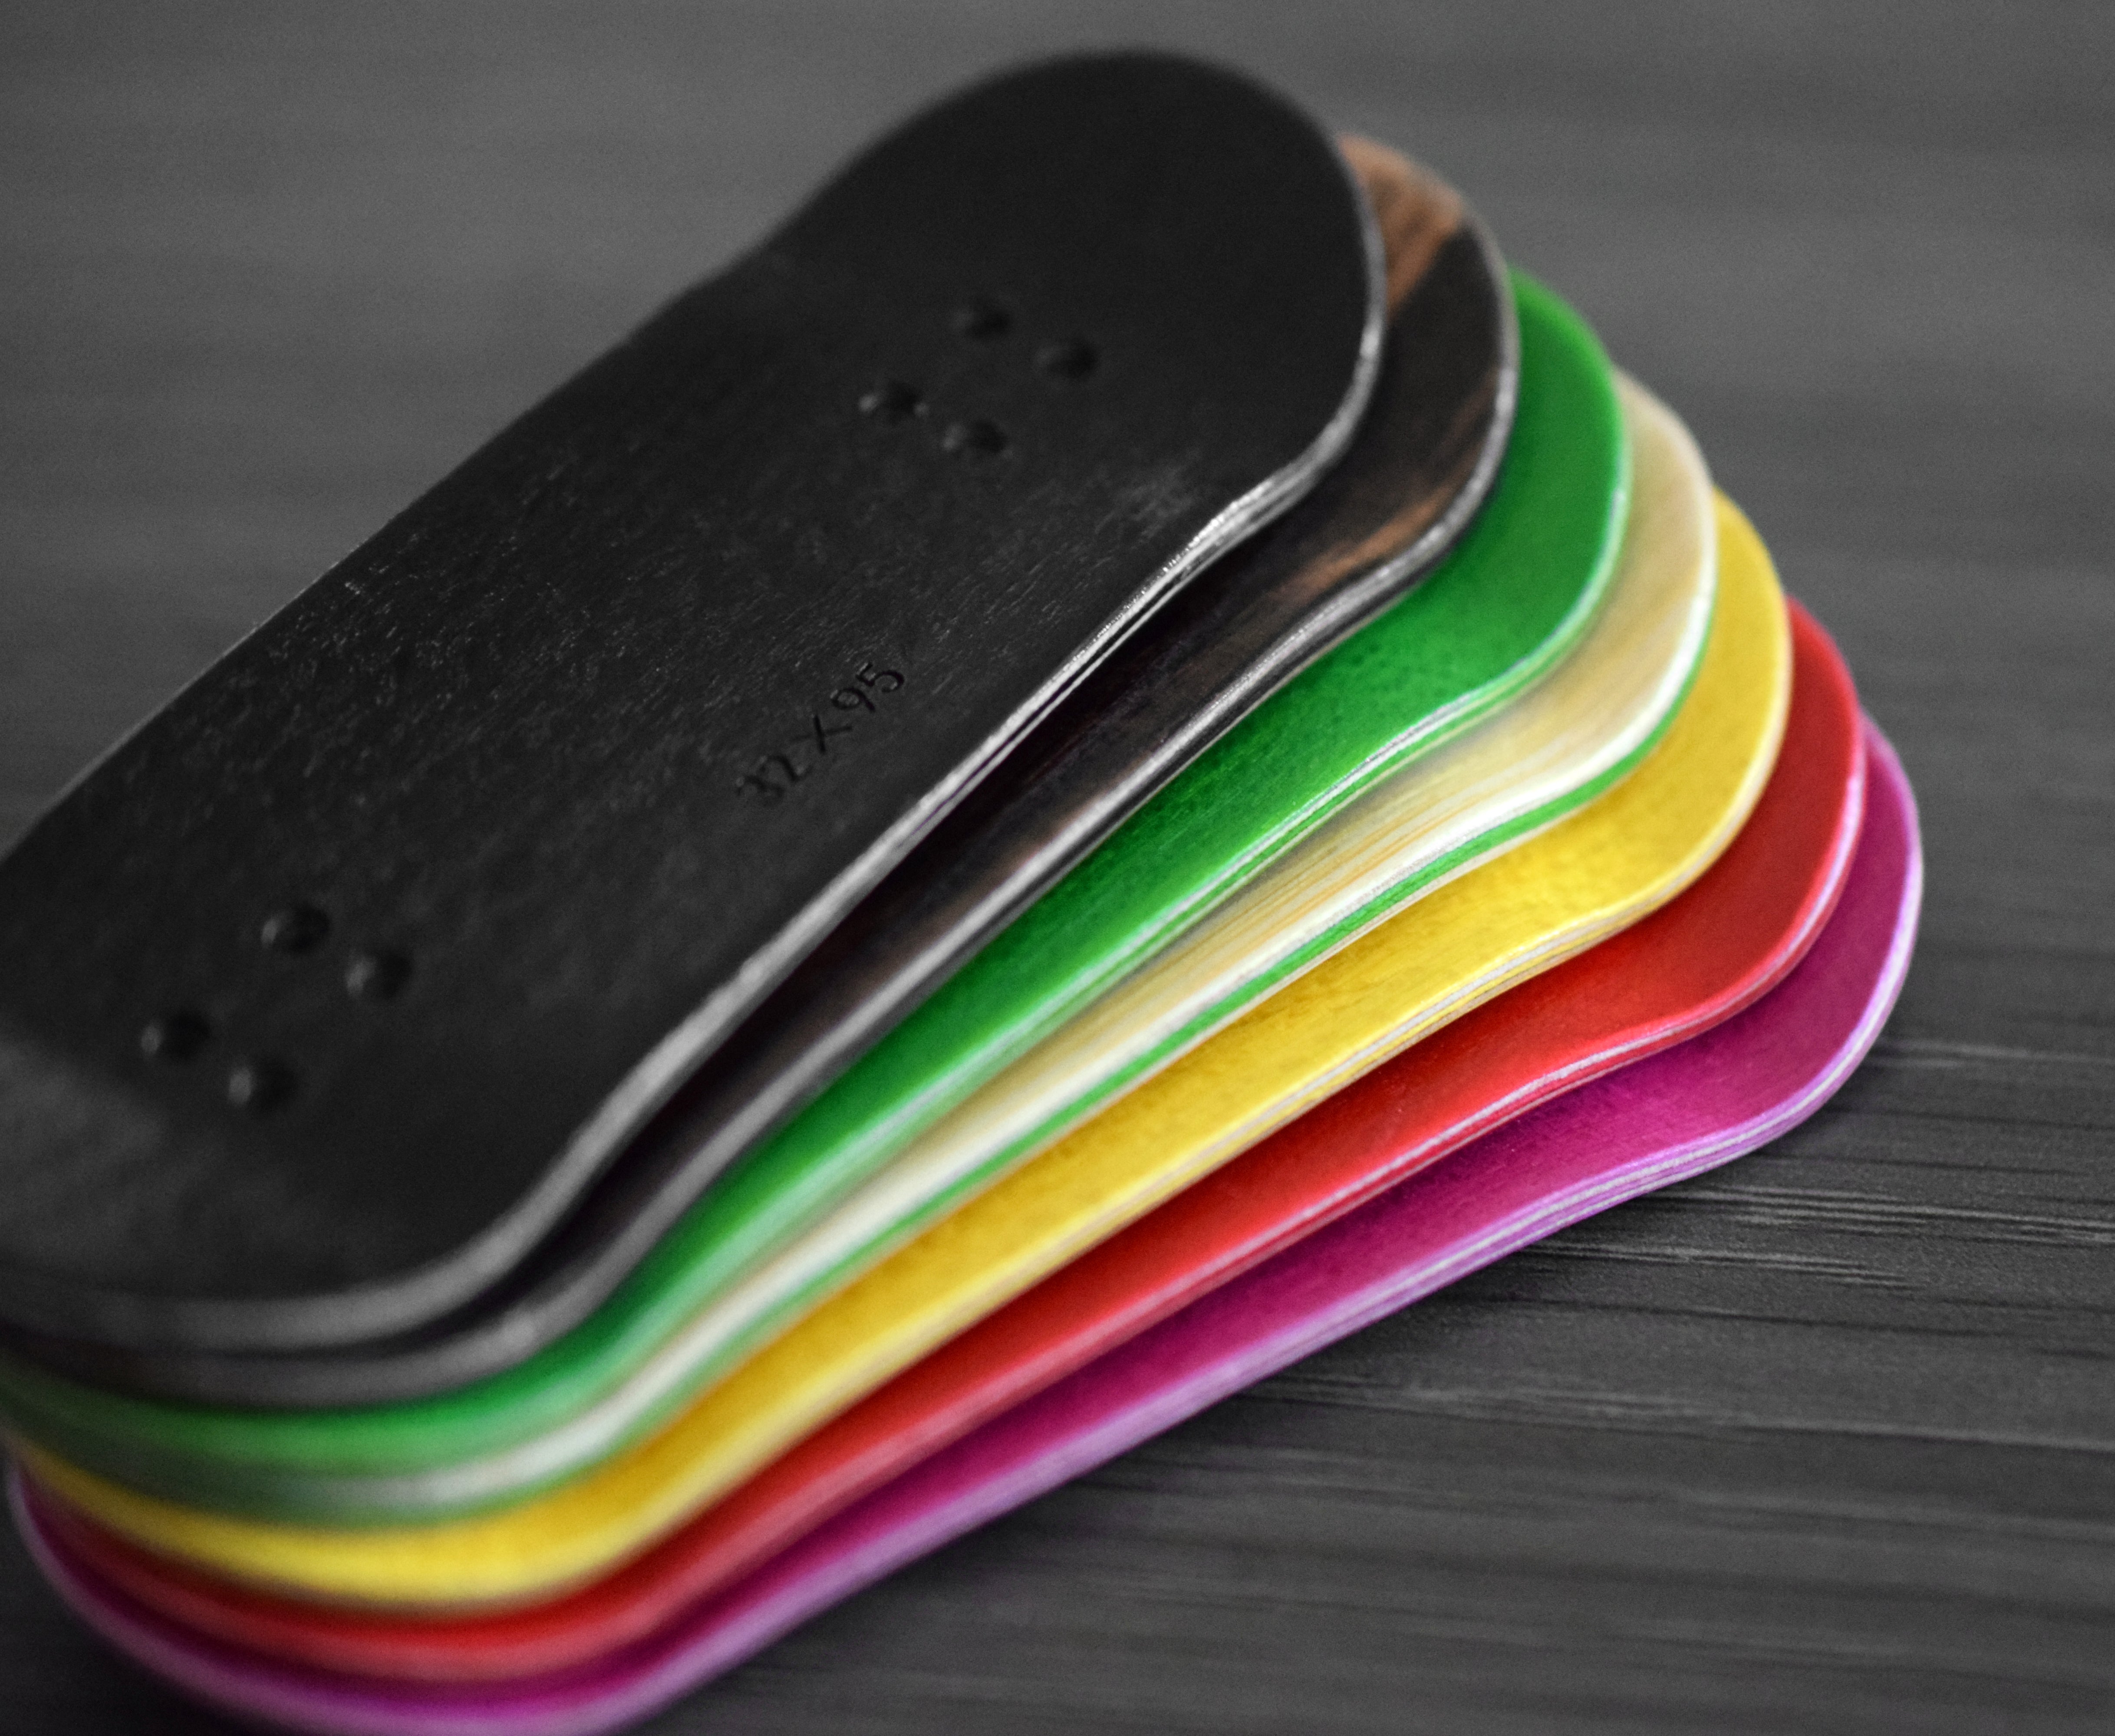
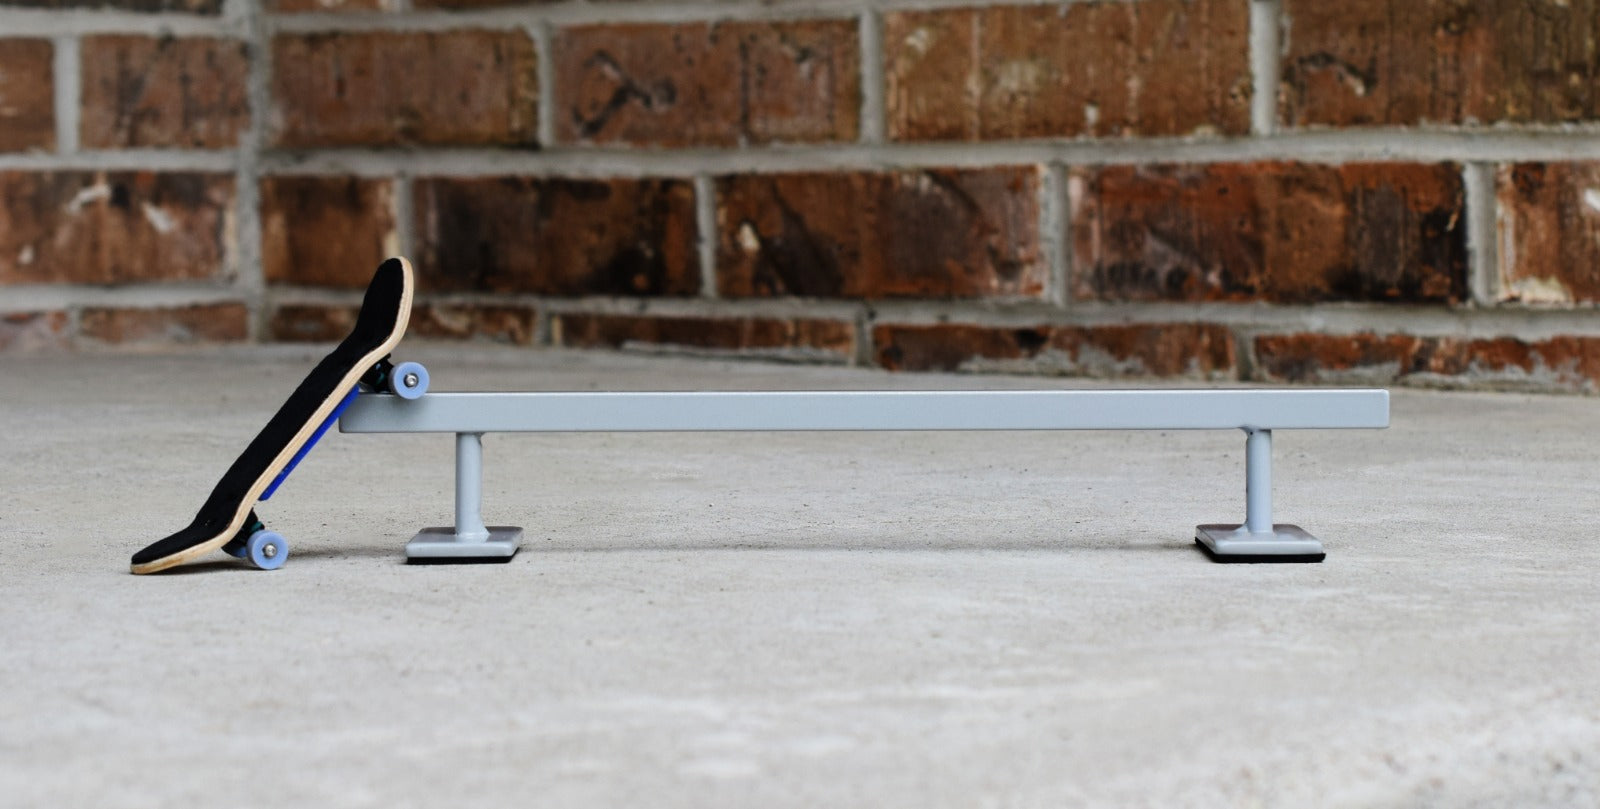
Teak Tuning just released new board rails that are made of a metal alloy! These are one of the first of their kind and have a unique feel when riding.

These board rails are made using a metal alloy, which weigh more than plastic board rails, and grind smoothly on a variety of surfaces. The additional weight allows for different physics by changing the center of gravity while riding and performing tricks. The metal construction also provides a higher degree of durability, but will wear and scratch overtime with use just as trucks and metal rails do.
These board rails also include a free Pro Tool. This tool is easier to grip and turn when working with precise and tiny parts - including board rail screws!
Like all other Teak board rails, these metal alloy board rails are available in the Gem Edition shape. The Gem Edition shape has a similar shape to standard board rails, but they feature slightly faced edges like gemstones.
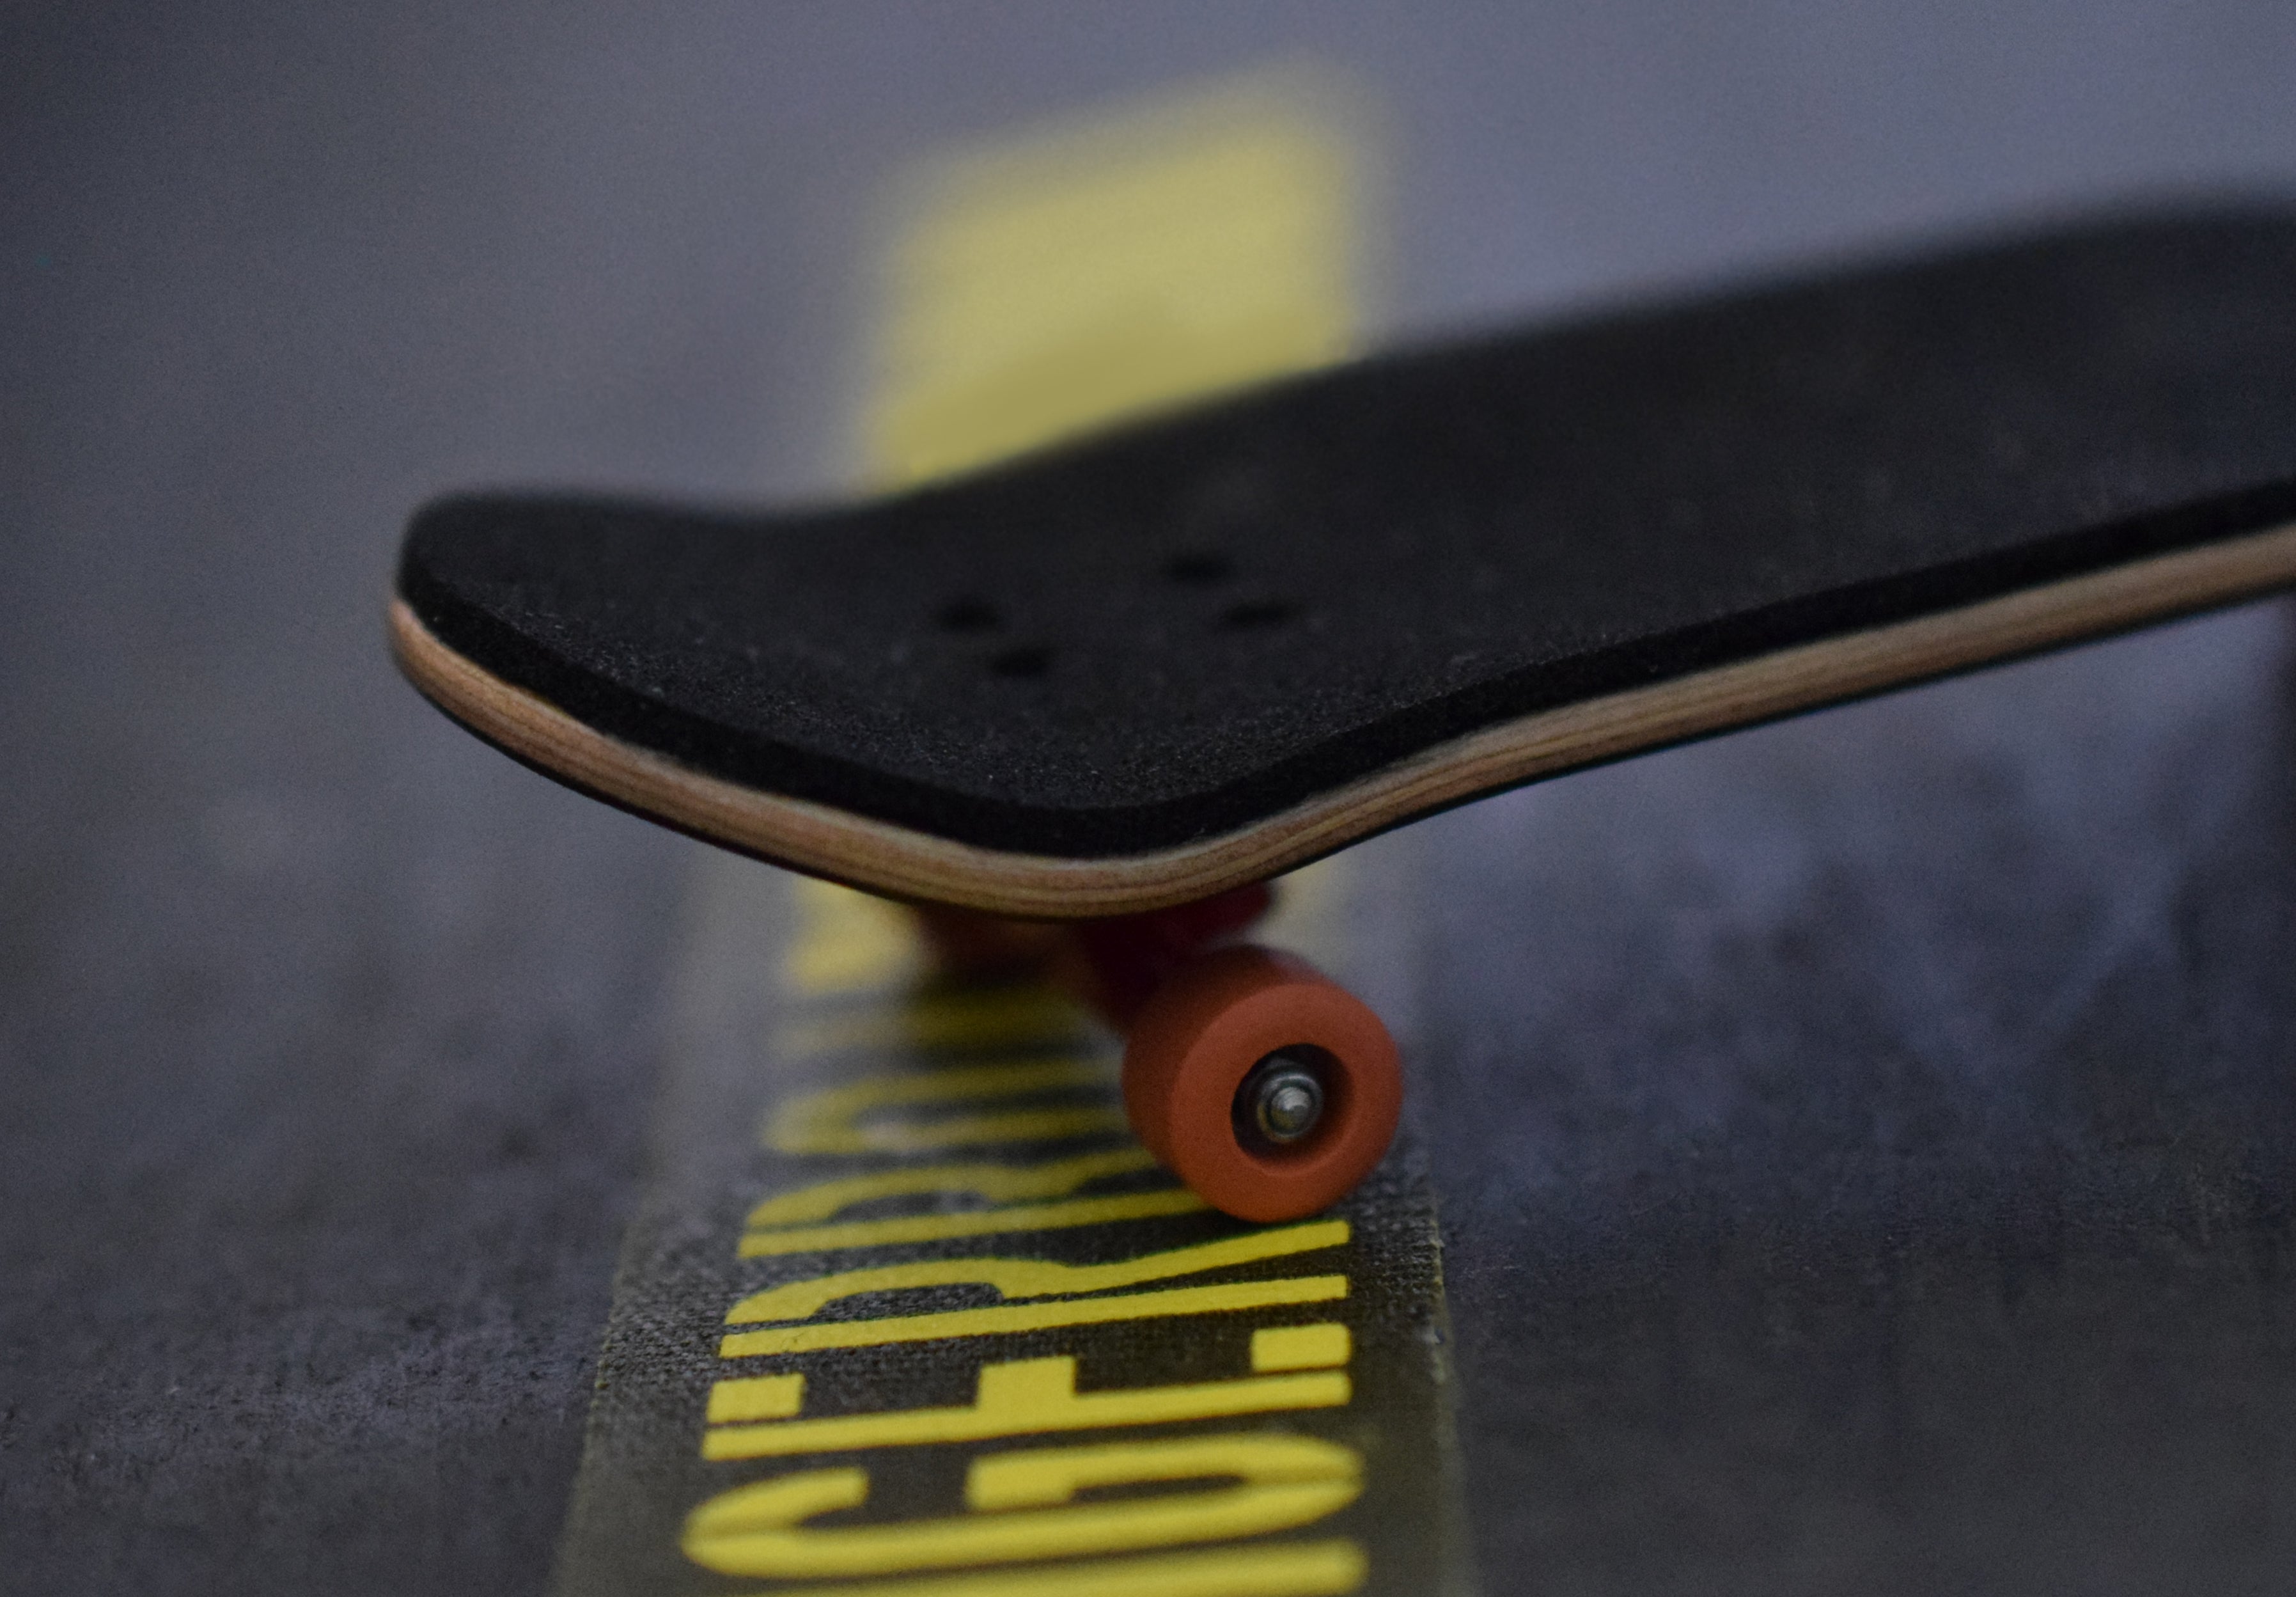
The screw-in board rails may look like the traditional skateboard rails, but keep in mind that these will make permanent holes in your board. If you plan on keeping your board rails in or like the way they look, then the screw-in board rails will work great for you. To apply your screw-in board rails, follow these steps:
- Place the board rail on your board in the position where you would like it.
- Use a fingerboard tool to screw in the middle screw.
- Once the middle screw is secure, apply the screws to the two outer holes.
- Repeat steps 1-3 for the second board rail.
- Double check that all screws are tightened, then start your session!
The screws will go into your board, but they will not go through your board or poke your fingers. Each pack also includes an extra screw, or you can use black board rail screws instead.
HELPFUL TIPS:
- Applying the board rails screws is more challenging than applying screws to your trucks when you assemble a setup. Using a professional tool will help with this process because they're easier to grip and twist.
- Use a thumbtack to make a small hole in your board first. This will make it significantly easier to screw the board rail in. Want to see this method in action? Check out one of our Teak Team riders using this application method below:
Want to keep up to date with new product launches like these? Here are a few ways to stay in the loop:
- Follow Teak Tuning on Instagram and Facebook. Whenever a new product is released, it will be posted on Instagram and Facebook
- Check out the “New” section on the website. All new items are added to the “New” section on the website so new items are quick and easy to find.
- Sign up for texts. Every so often we'll let you know about the new releases we're most excited about! Text TEAKTXT to +1 (844) 901-3721 to subscribe.
Leave a comment