
How To Apply Tape To Your Fingerboard Deck
Whether you’re setting up your very first fingerboard or re-gripping a well-used deck, taking a few extra minutes to apply the tape correctly will make a big difference.
Step by Step Application Guide:
- Prepare the Deck: Remove old tape residue if you are re-gripping an old board.
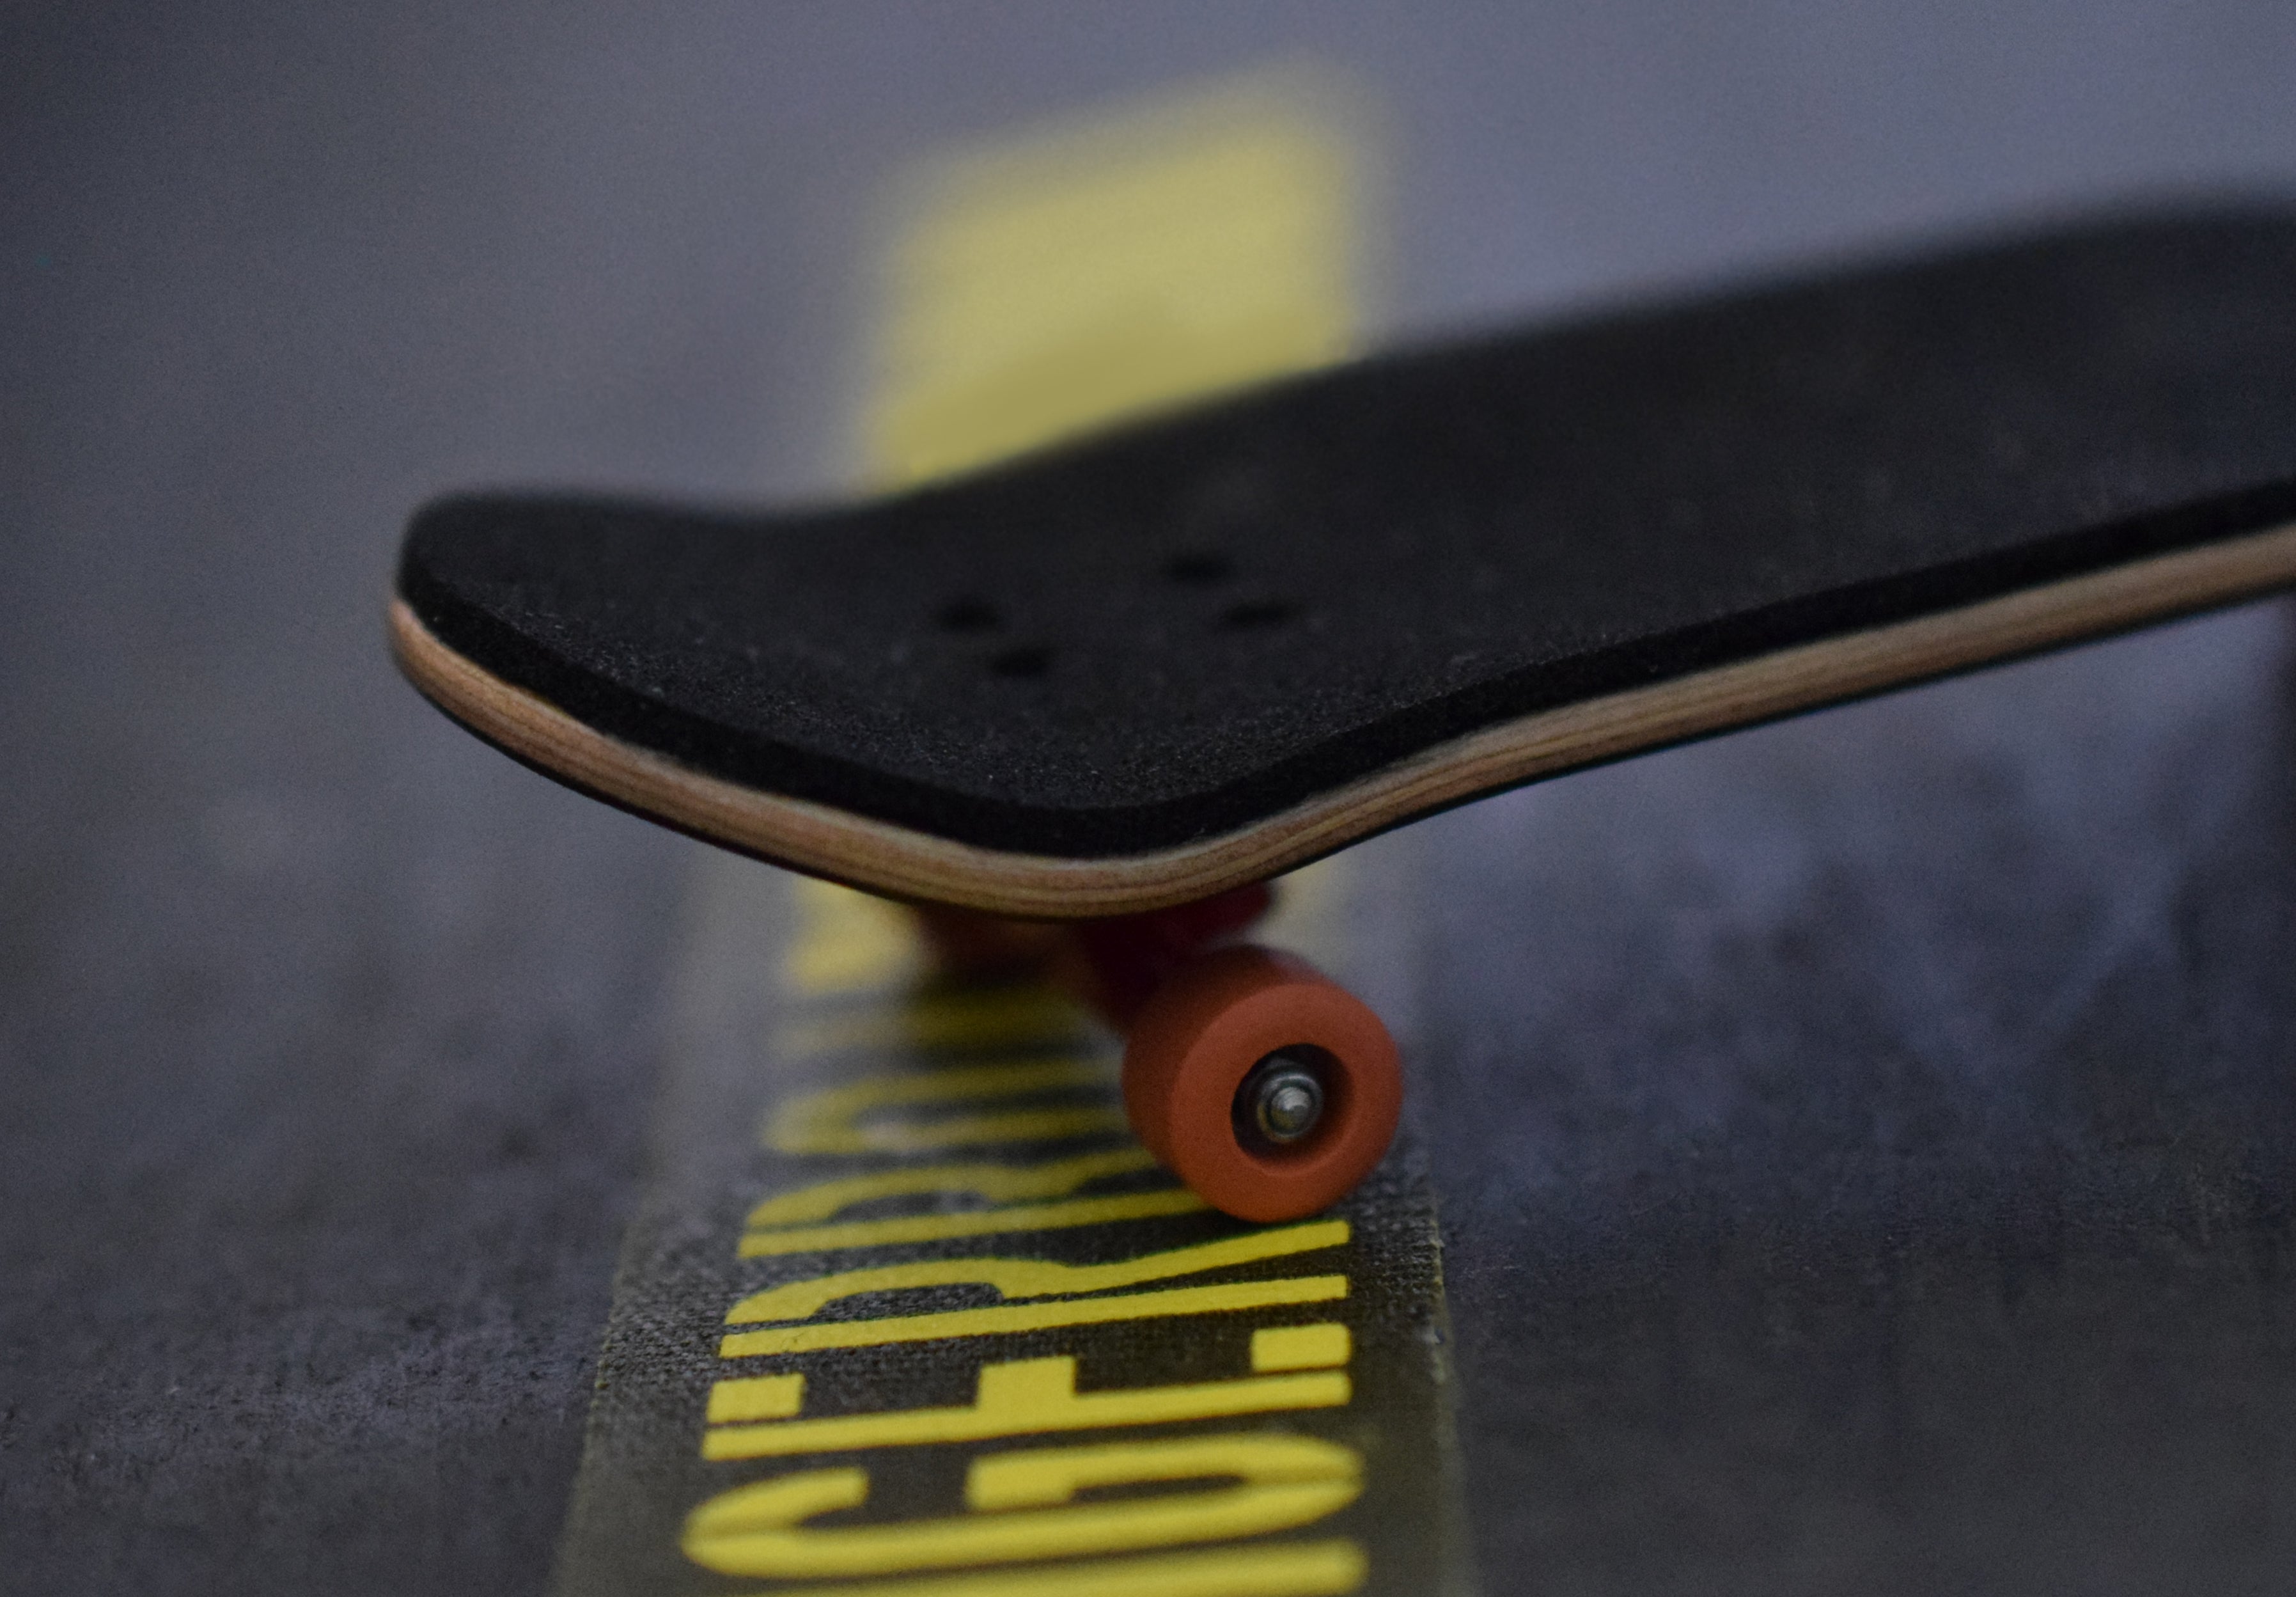
- Apply the Tape: Peel the backing off the foam tape and carefully place it onto the top ply of the board, ensuring it covers the deck completely.
- Smooth and Secure: Slide a finger from the center of the board to the nose and tail to remove air bubbles.
- File the Edges: Use a file to shave off excess tape. Hold the file at an angle (not flat) to get a clean edge, filing downward and away from the top surface.
- Clean Up: Slide your finger around the edge to remove any remaining adhesive or particles.
- Punch Holes: Use a the truck axle, screws, or a fingerboard tool to poke through the tape to open up the truck screw holes.
All Teak Tuning decks and completes include a free mini file for easy application. You can also upgrade to our Pro File for a larger file that is easier to grip/hold in your hand.

Leave a comment